Organization Management
Create, configure, and manage organizations from a single interface
Table of Contents
The Organizations page provides a comprehensive view of all organizations on the platform. From here, Super Administrators can create organizations, manage their settings, assign users, and control model access — all through a single tabbed management dialog.
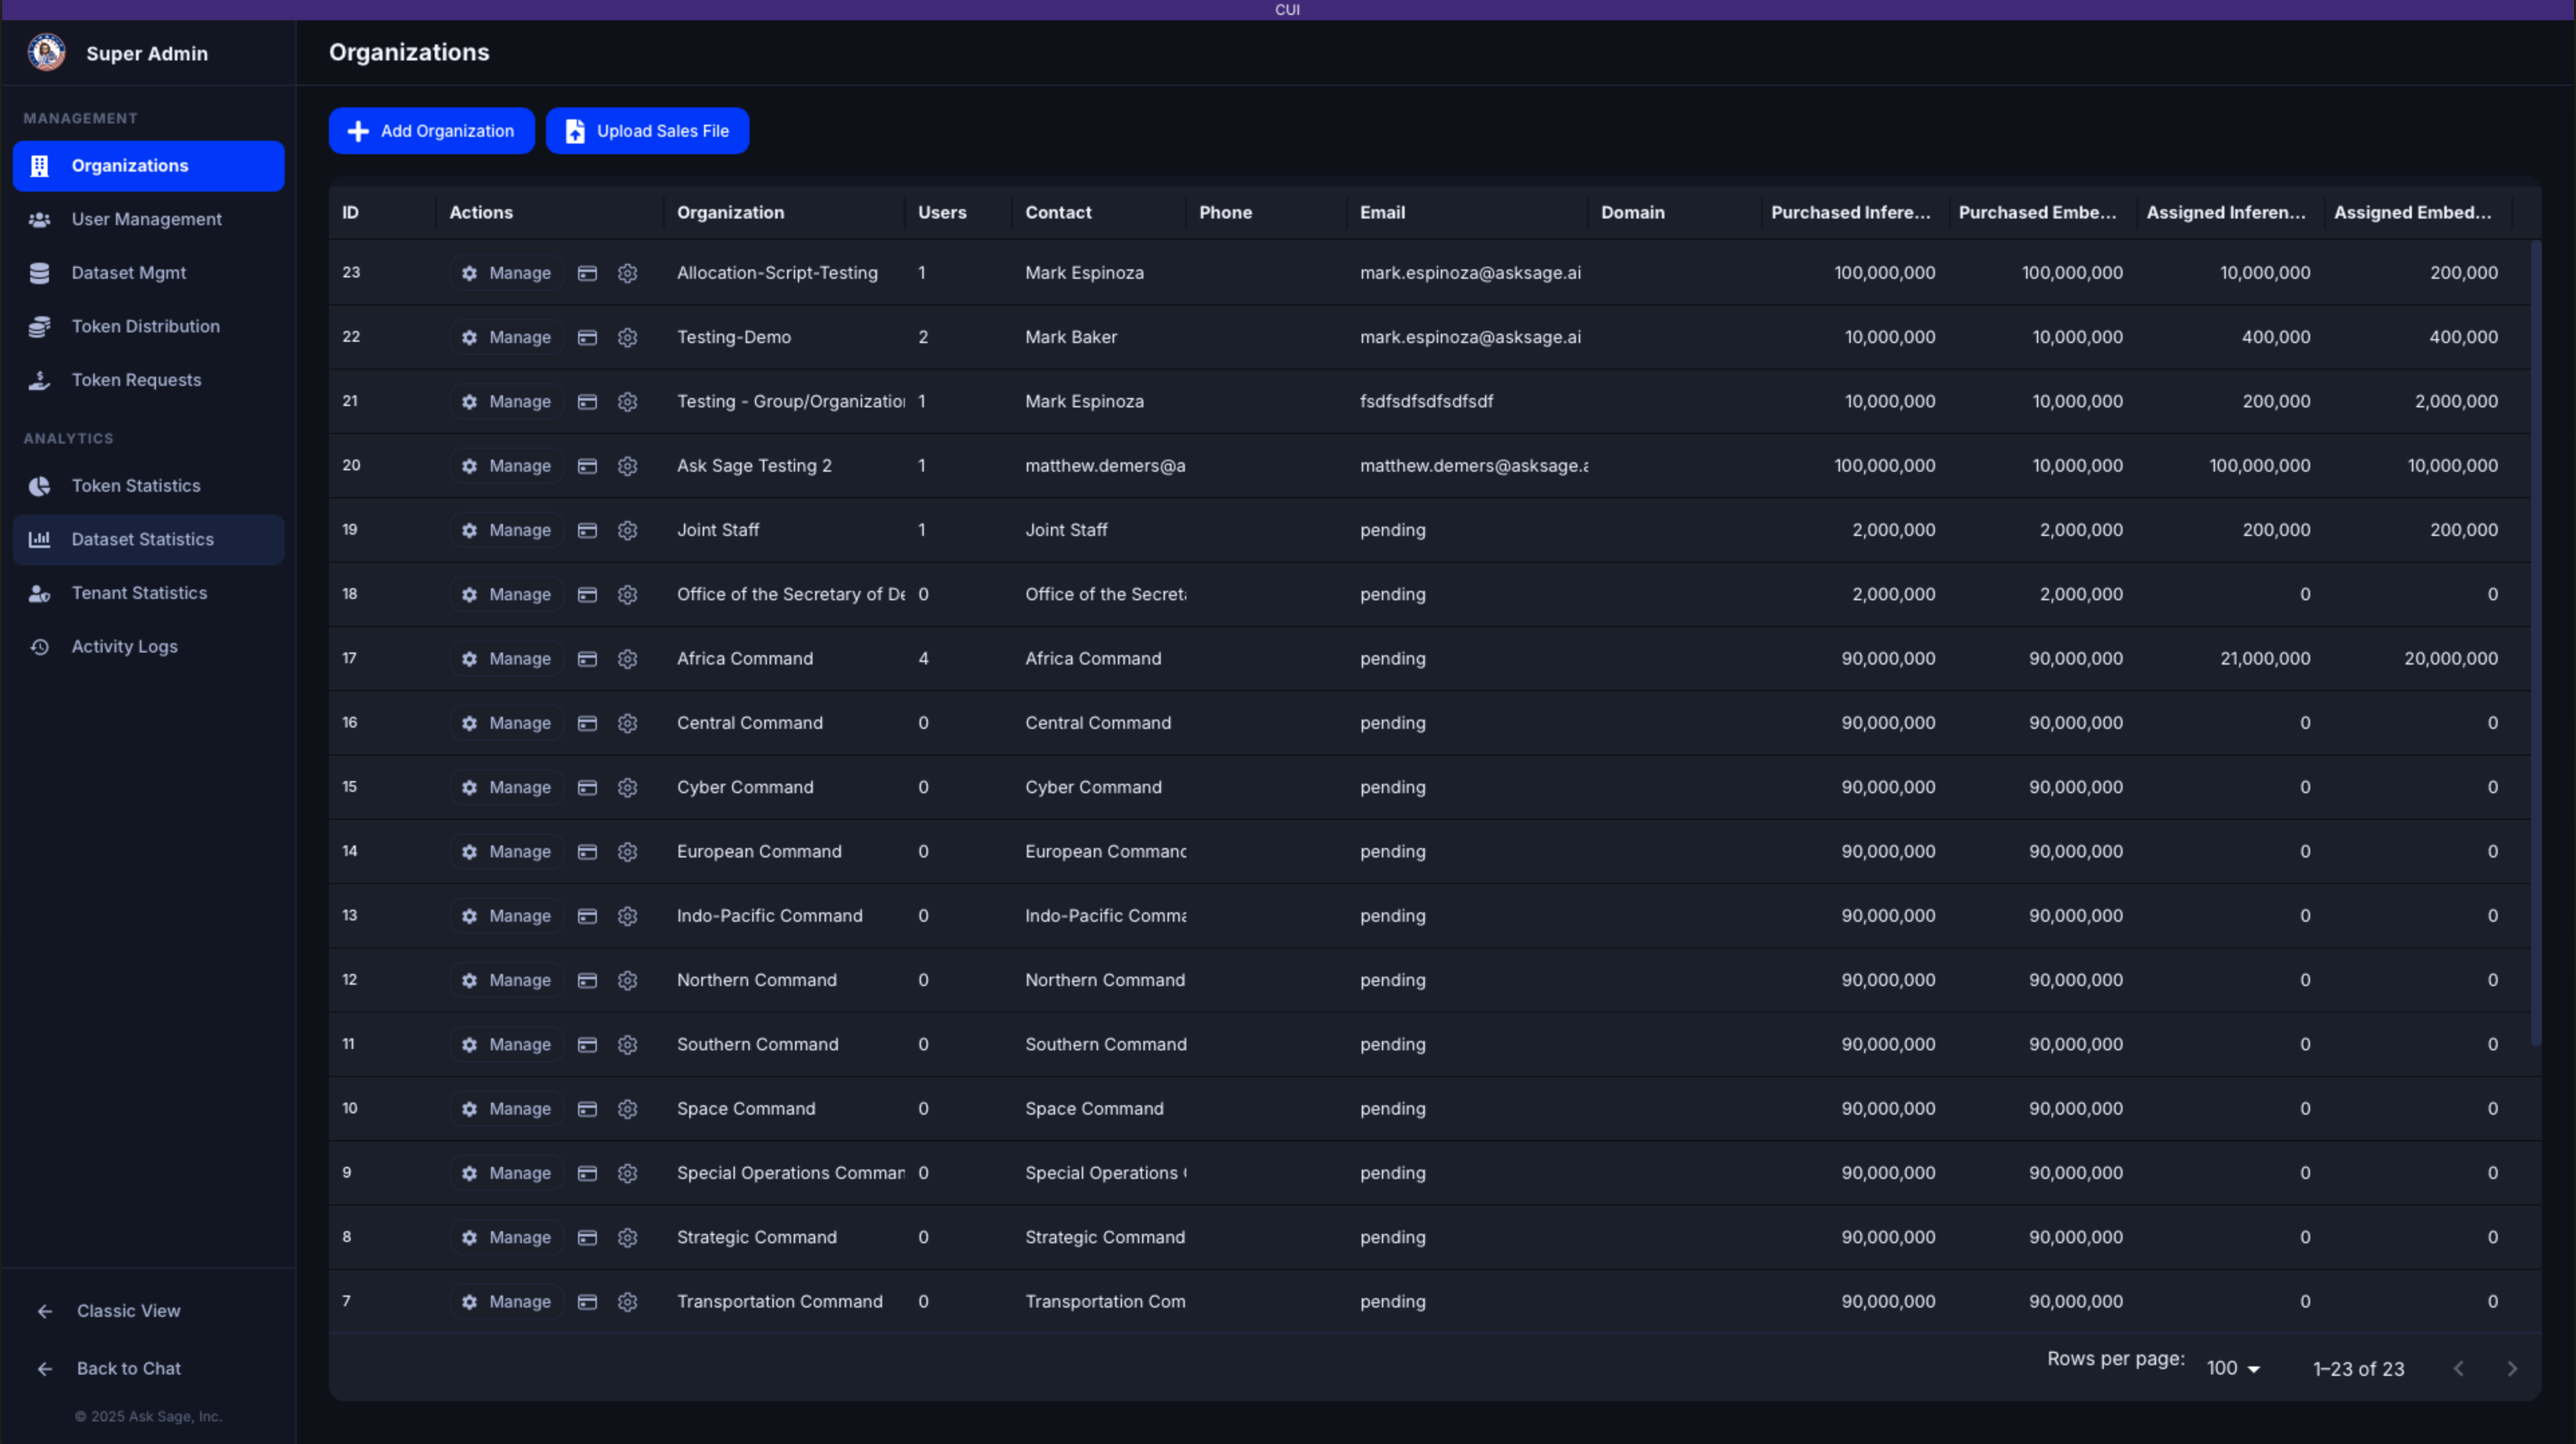
Organizations table with Manage, Purchases, and OAuth actions
Organizations Table
The organizations table displays the following columns:
- ID — Organization identifier (links to filtered user list)
- Actions — Contains the Manage button, Purchases link, and OAuth config icon
- Organization — Organization name
- Users — Number of users in the organization
- Contact — Point of contact name
- Phone and Email — Contact information
- Domain — Domain name for auto-assignment
- Token columns — Purchased and assigned inference/embedding tokens
The table supports sorting by any column, pagination, and column resizing.
Actions Column
Each organization row has three actions:
- Manage — Opens the tabbed management dialog (see below)
- Purchases () — Opens the purchases page for that organization in a new tab
- OAuth () — Opens the OAuth configuration dialog (only visible if OAuth login is enabled)
Manage Dialog
Clicking Manage opens a dialog with three tabs for organization configuration.
Details Tab
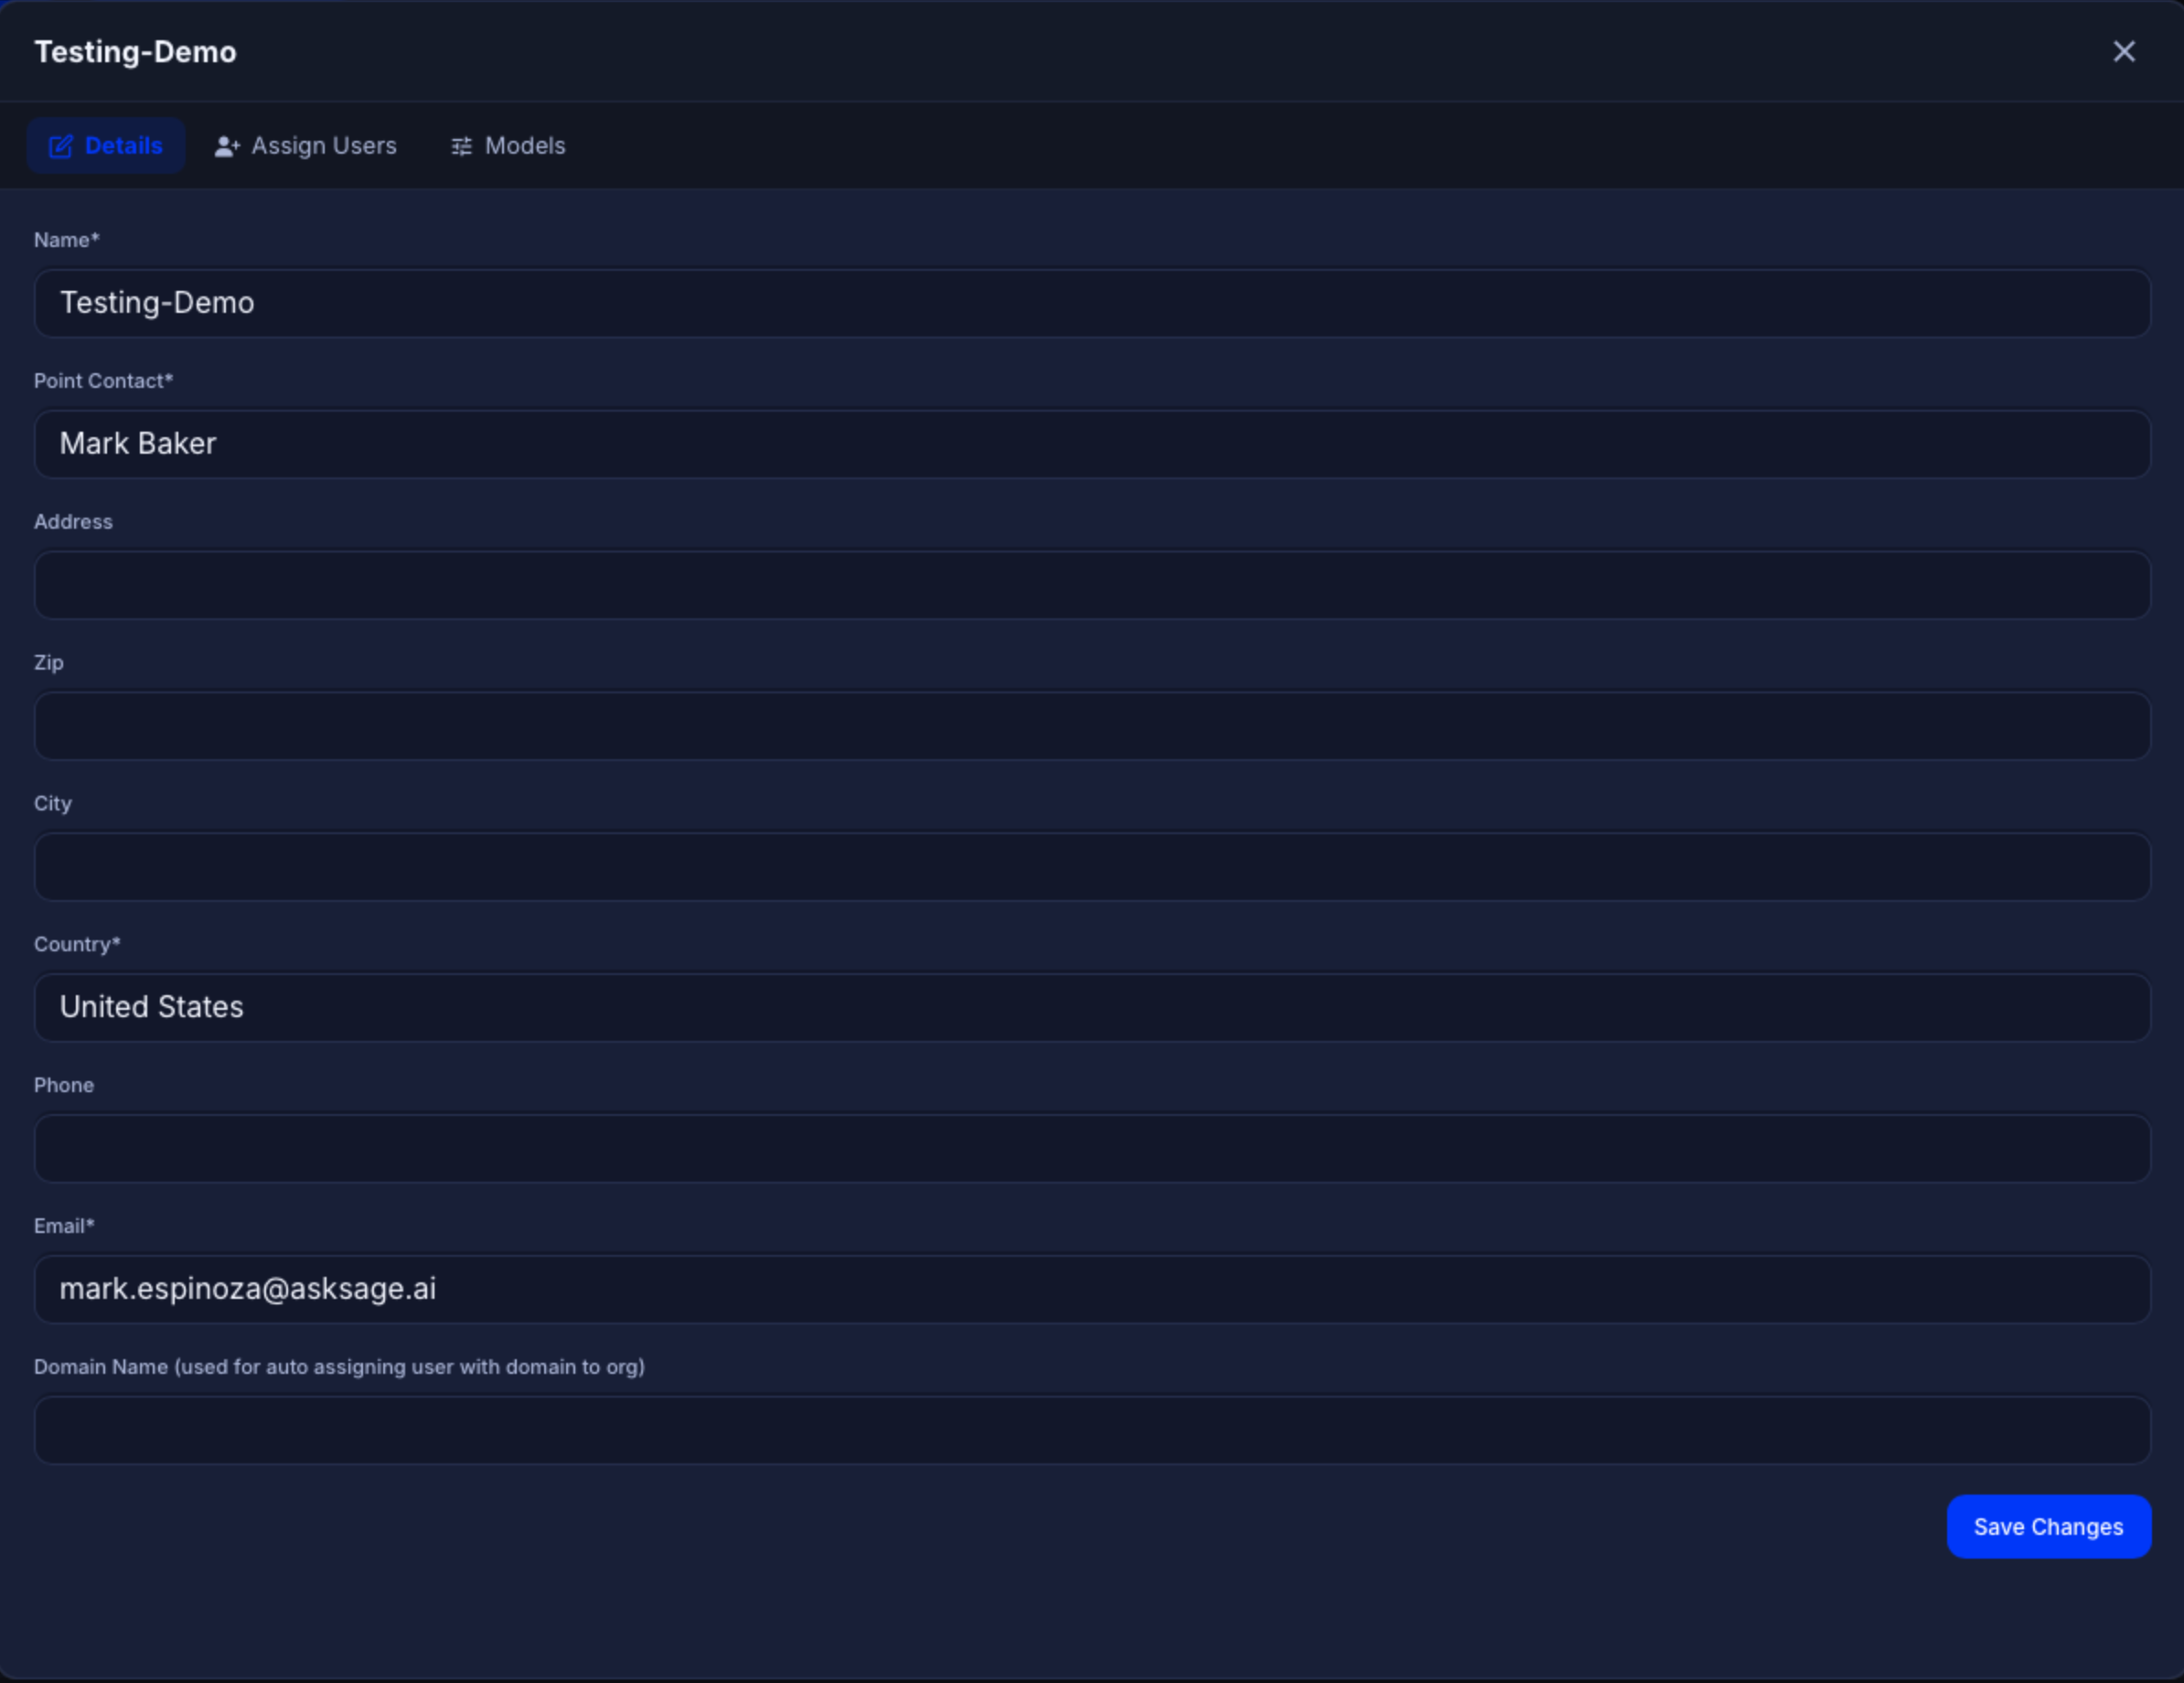
Details tab — Edit organization information
Edit the organization's core information:
- Name* — Organization display name
- Point Contact* — Primary contact person
- Address, Zip, City, Country* — Physical address
- Phone, Email* — Contact information
- Domain Name — Used for automatically assigning users whose email matches the domain to this organization
Click Save Changes to apply updates.
Assign Users Tab
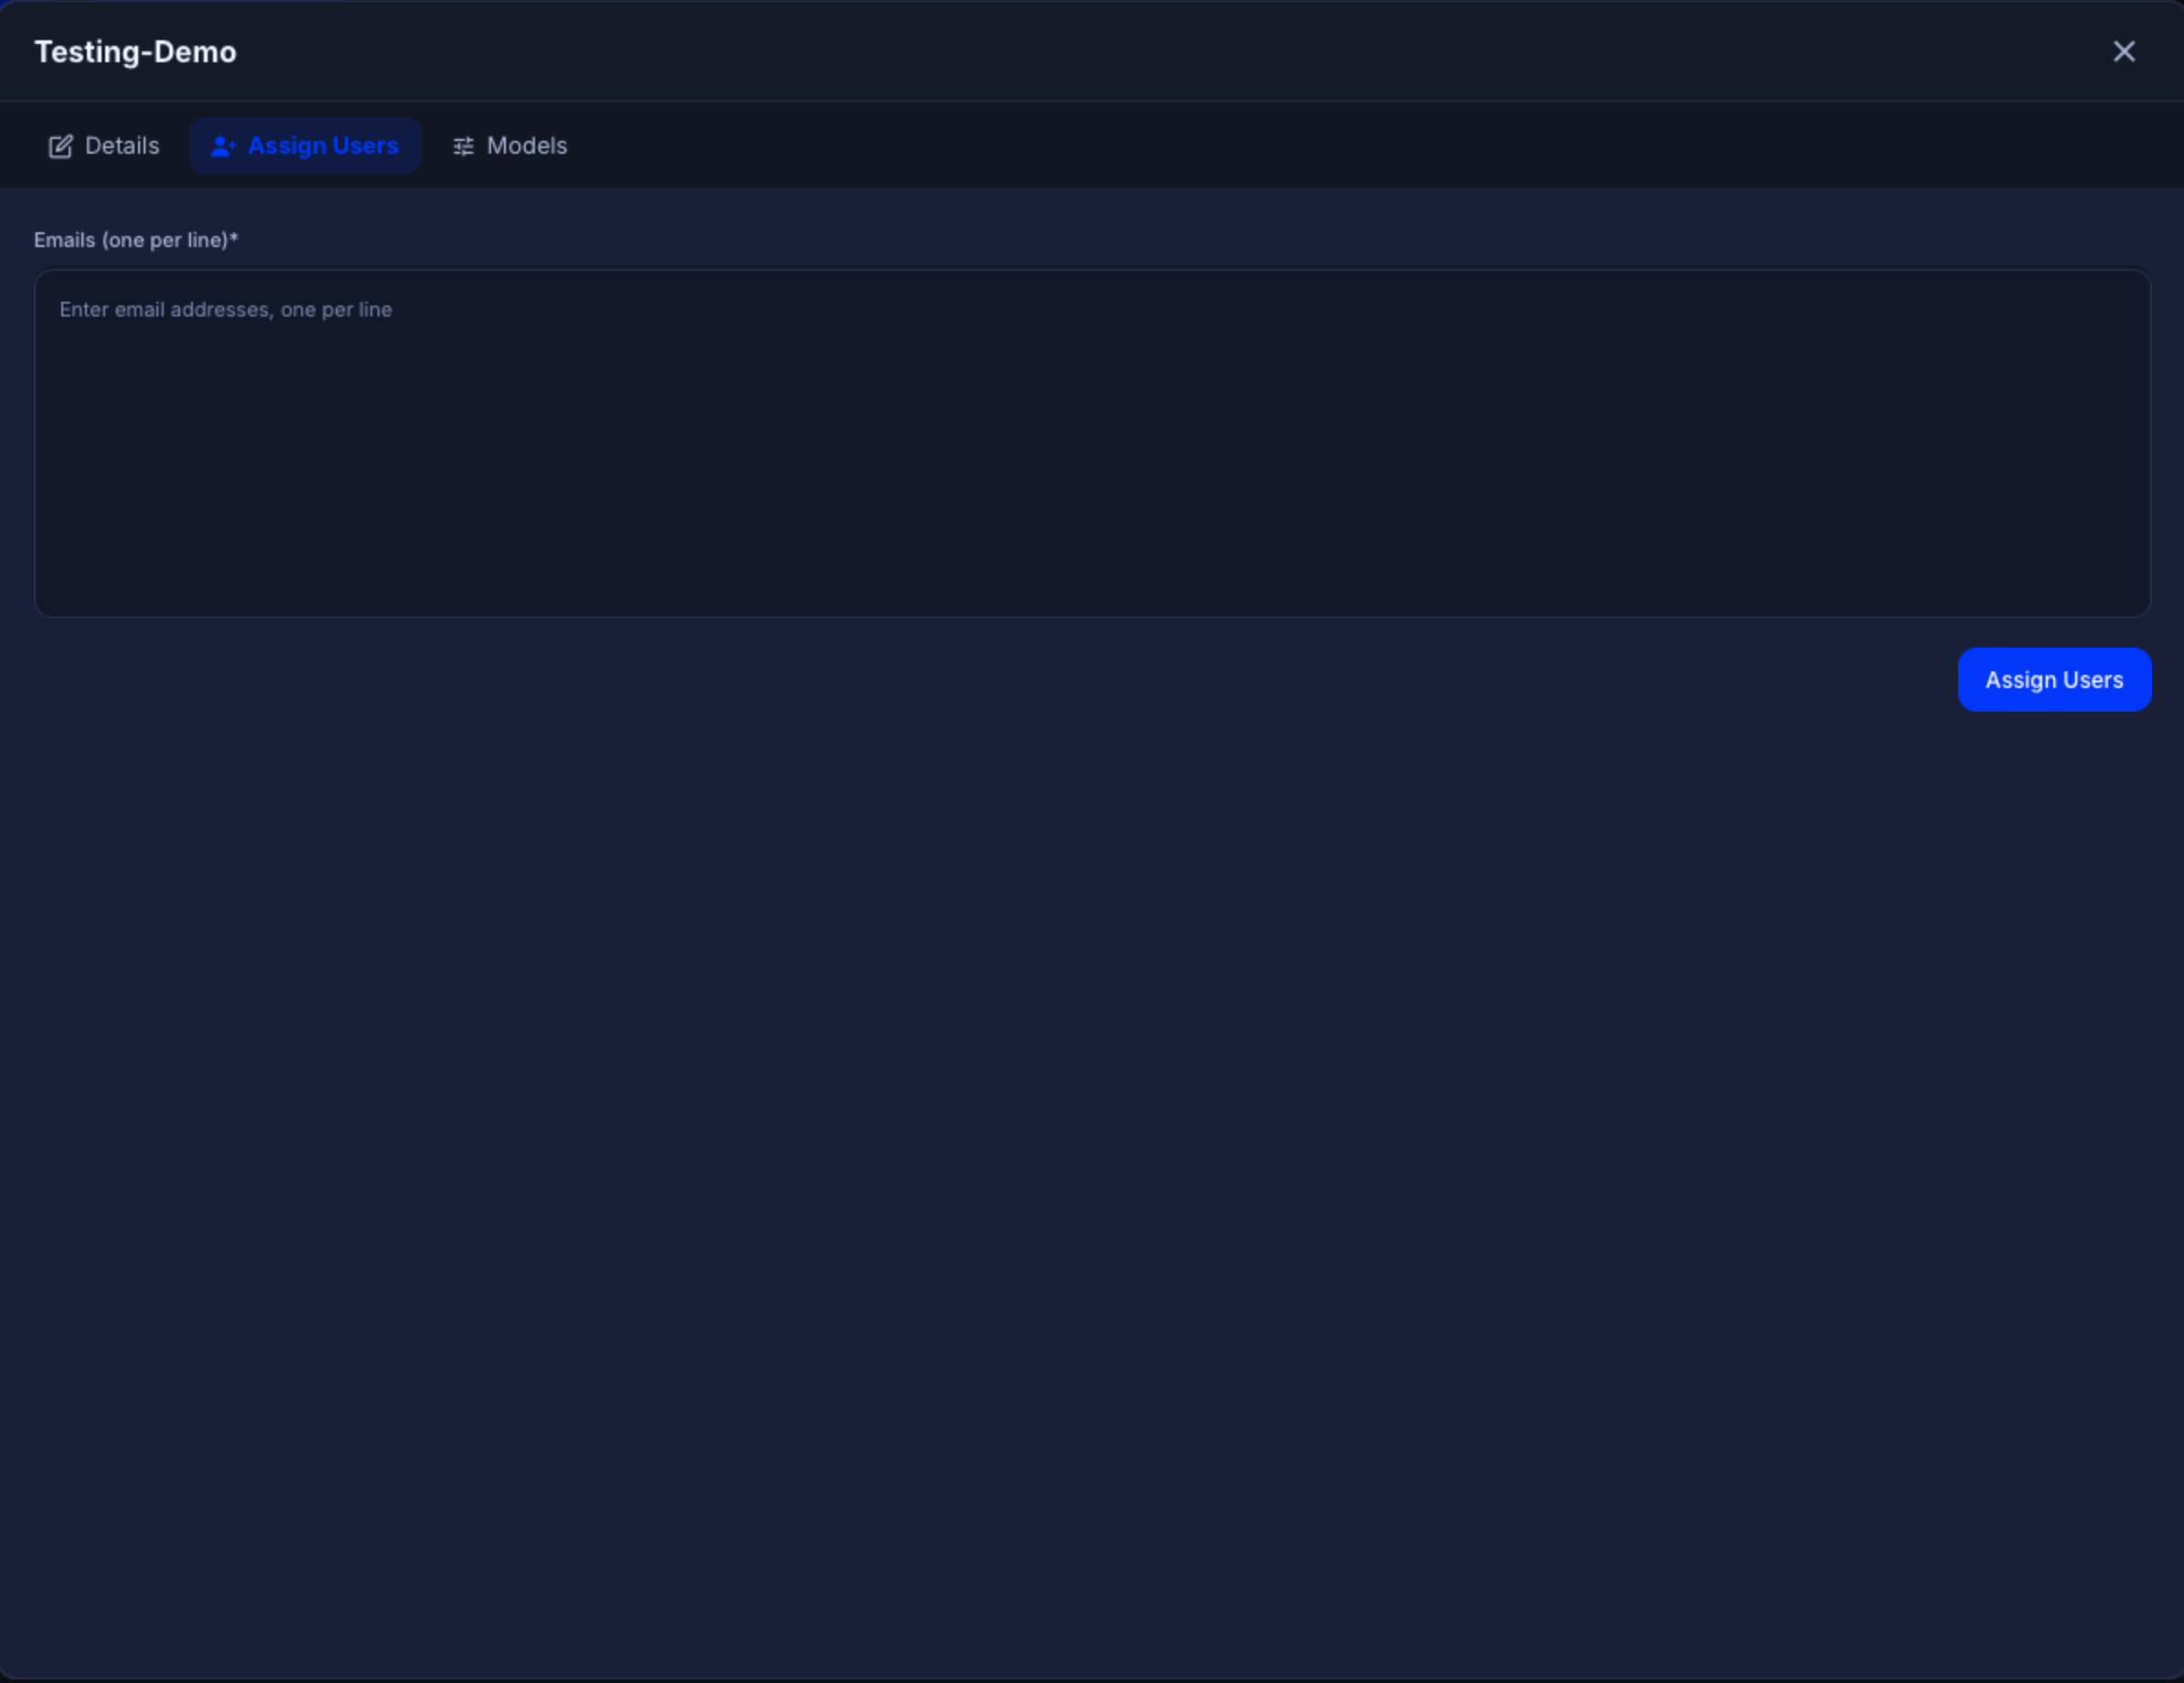
Assign Users tab — Bulk assign users by email
Assign registered users to this organization by email address:
- Enter email addresses in the text area, one per line
- Up to 100 users can be assigned at once
- Click Assign Users to submit
Models Tab
See Model Access Control for detailed documentation.

Models tab — Control which AI models are available to users
Adding an Organization
- Click the Add Organization button above the table
- Fill in the required fields: Name, Point Contact, Country, and Email
- Optionally fill in address, phone, and domain name
- Click Submit to create the organization
Uploading Sales Data
Click the Upload Sales File button to import sales data in bulk. This allows you to load purchase records for multiple organizations from a formatted file.