Dataset Management
Organize, manage, and share datasets seamlessly across your organization with powerful collaboration tools.

Table of Contents
Manage Datasets
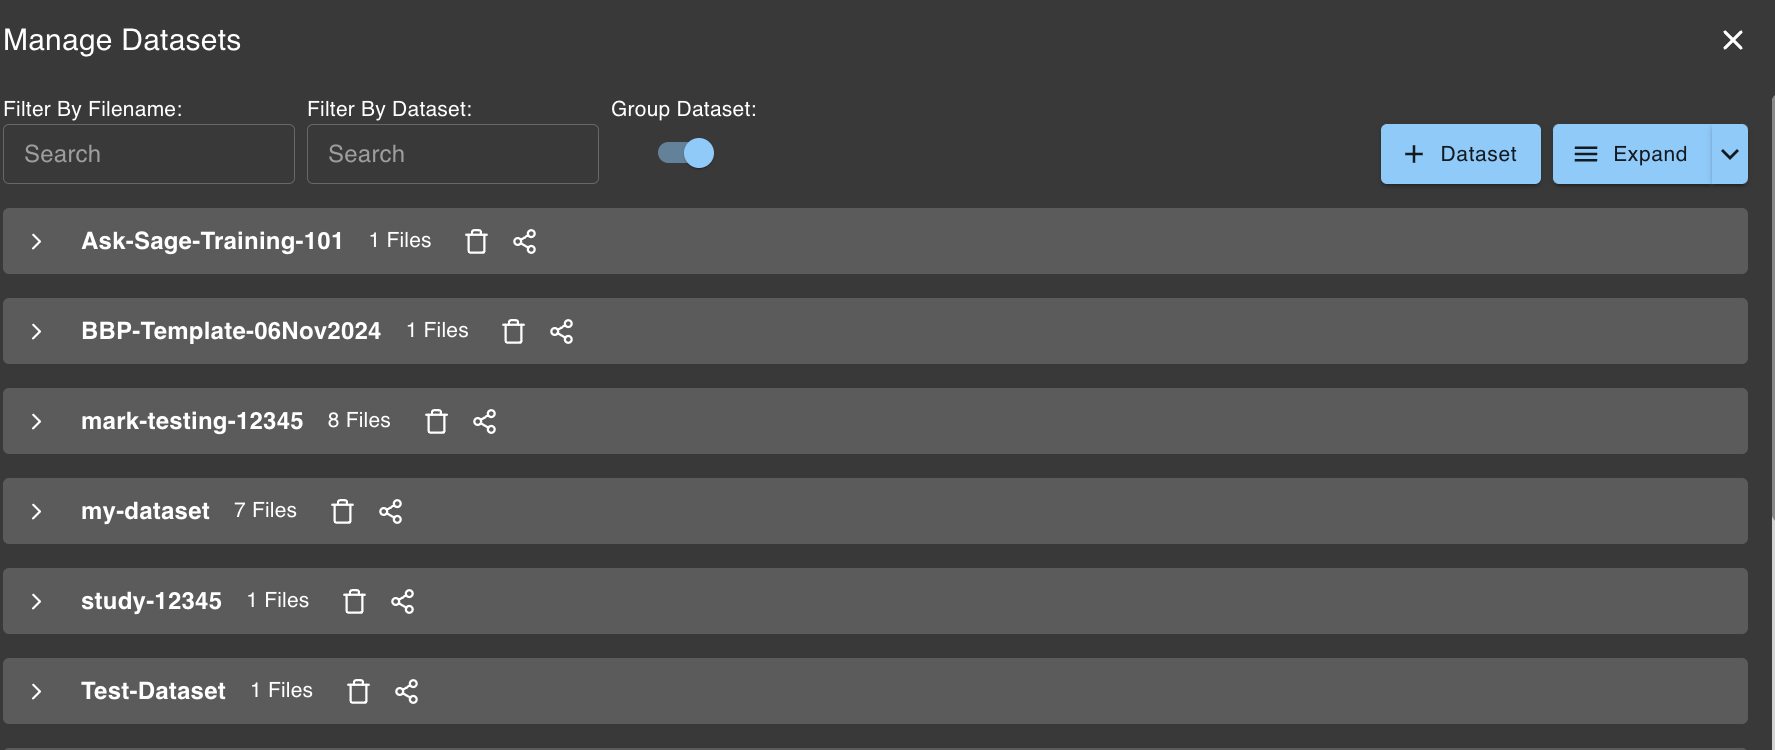
In the Manage Datasets section, you can share datasets with other users in your organization. This feature enhances collaboration and allows team members to access and leverage the same datasets for their projects. To share a dataset, click on the share icon:
Sharing with Specific Users
The Share Dataset window will appear, where you can enter the email addresses of the users you want to share the dataset with.
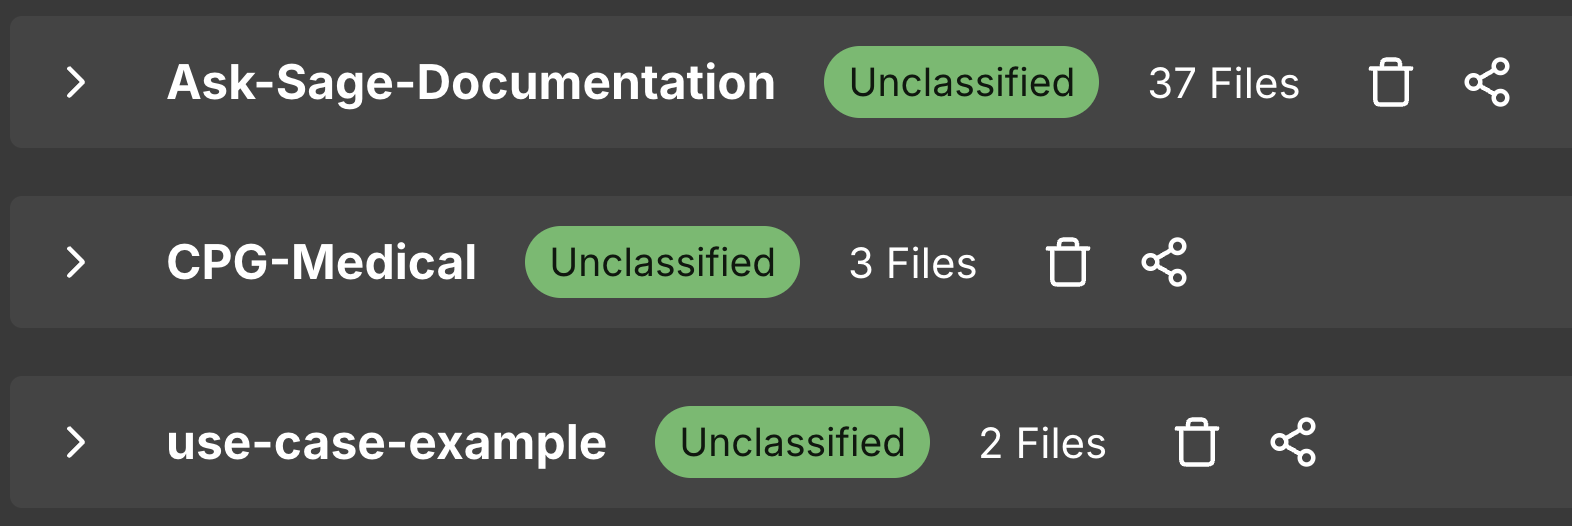
Please note that dataset sharing is contingent upon its classification as either CUI (Controlled Unclassified Information) or Unclassified. Only users with CUI access enabled on their accounts can view CUI datasets. If you attempt to share a CUI dataset with users lacking the necessary classification, you will encounter an error message.
CUI or Unclassified. However, users without a CAC/PIV card are restricted to labeling datasets as Unclassified. If you need to label a dataset as CUI but do not possess a CAC/PIV card, please reach out to Support at support@asksage.ai for assistance. 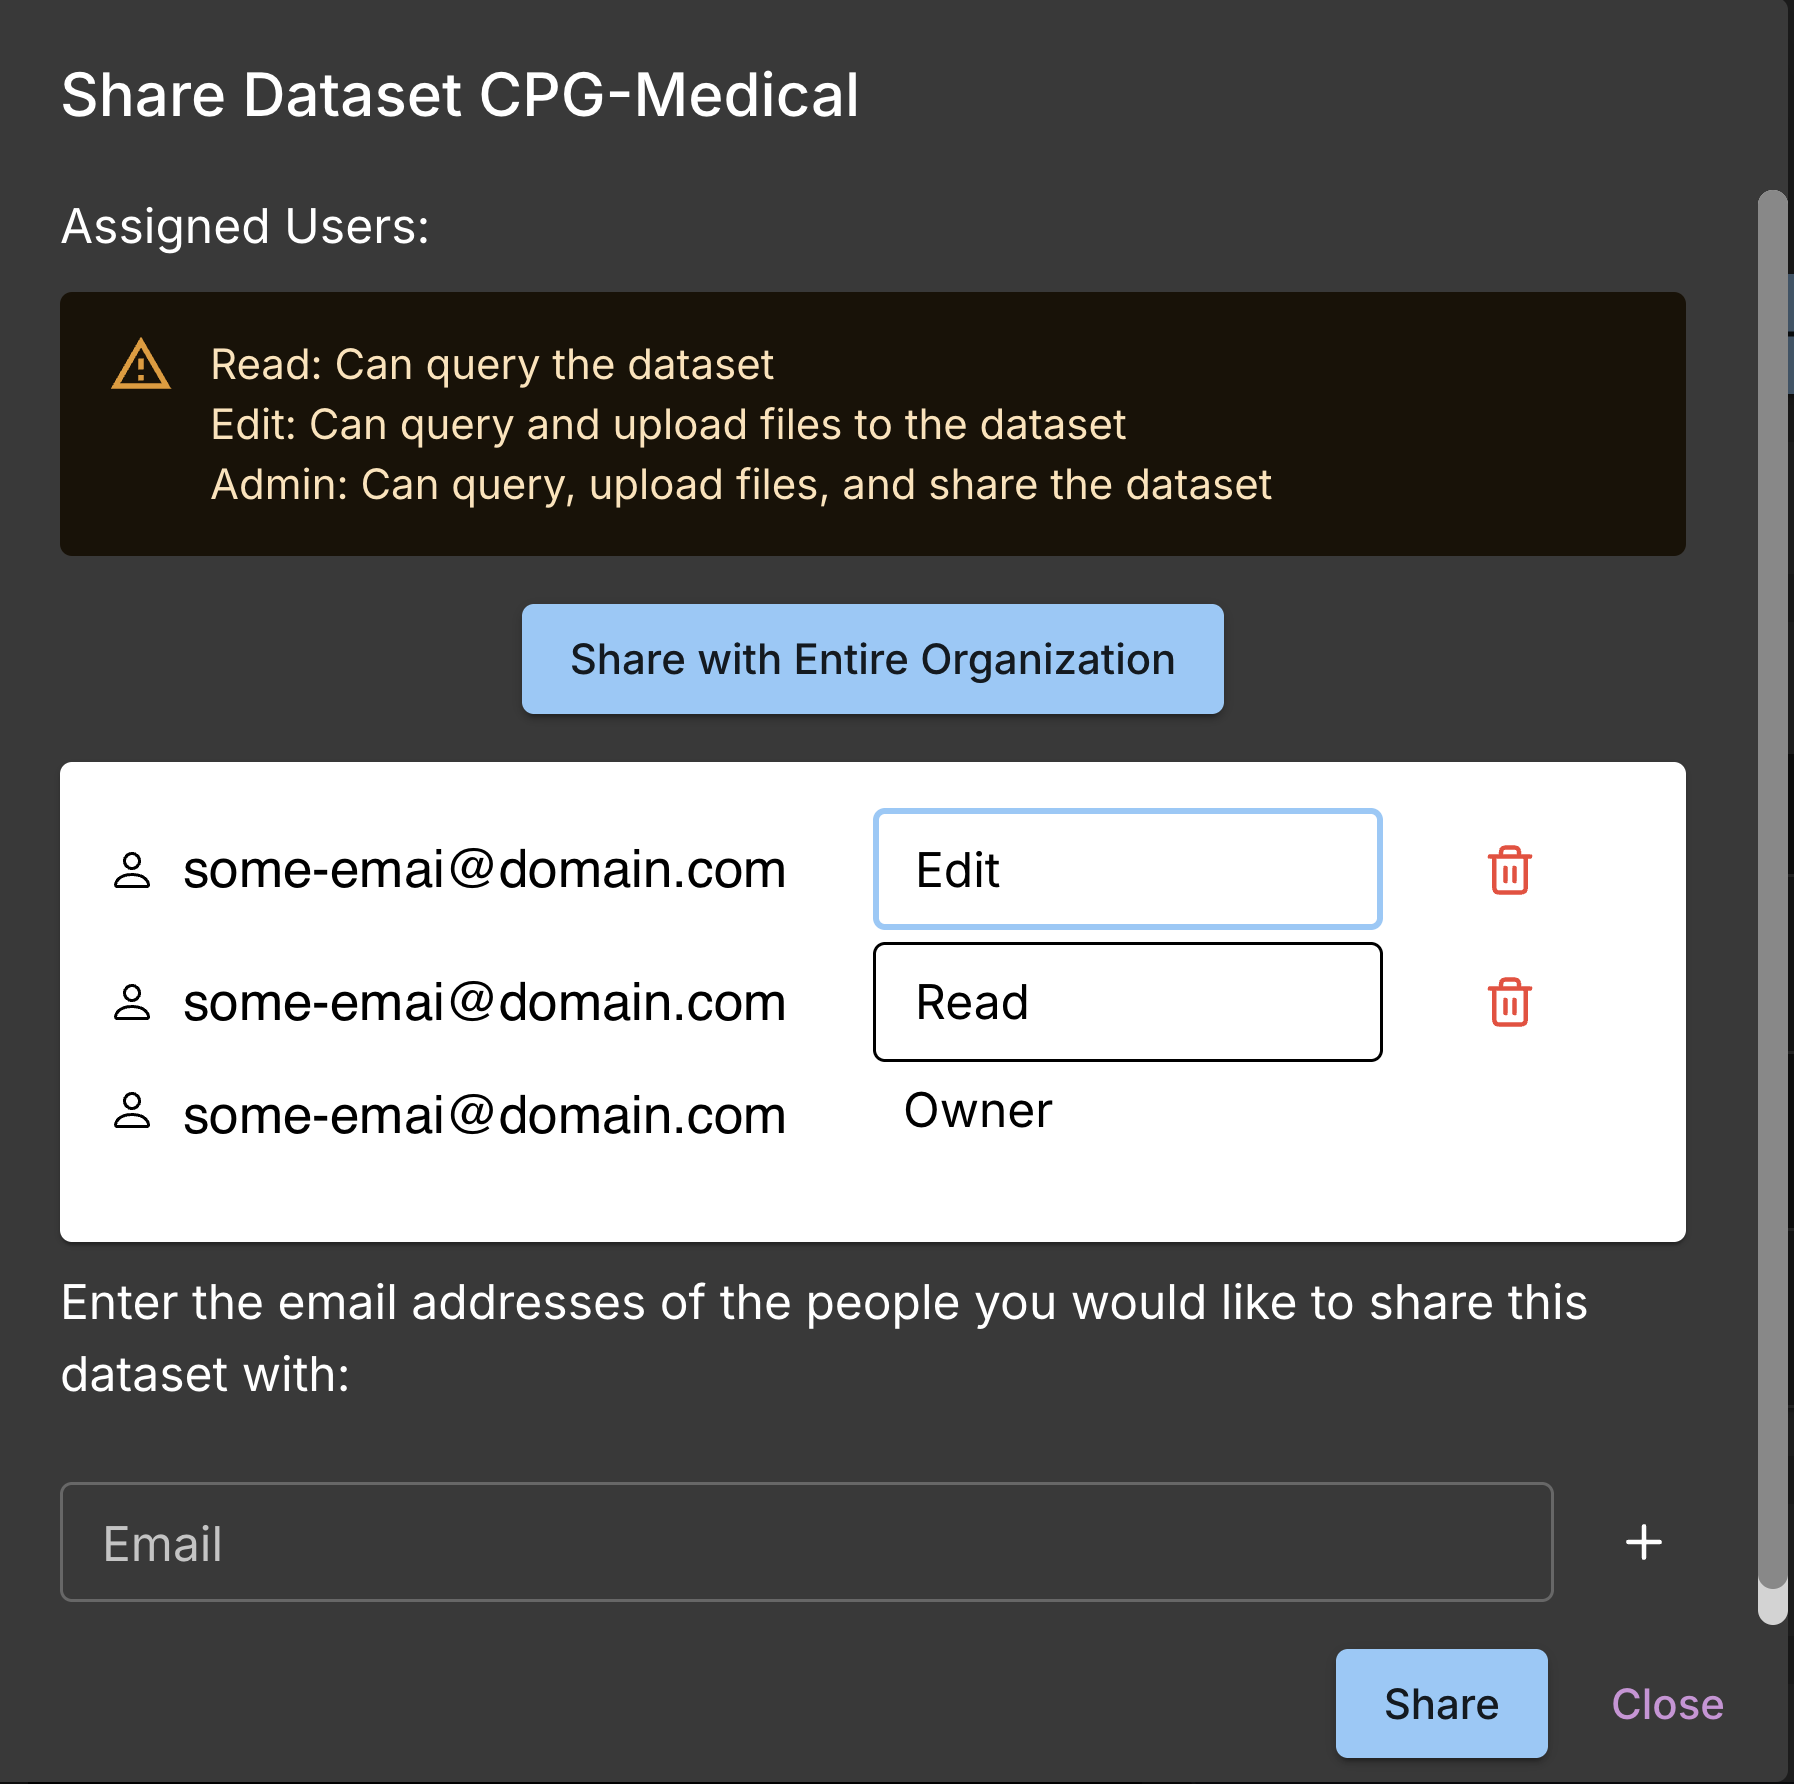
Enter the email addresses of the user(s) you want to share the dataset with and click on the Share button.
- Users can add an email one at a time in the text box. Then click on the '+' button which will save the email.
- More users can be added by repeating the above step.
- Lastly, click on the
Sharebutton to share the dataset with the selected users. - Dataset sharing is now complete. Users can access the shared dataset from their Ask Sage account.
To unshare a dataset, click on the red Trash icon next to the user's email address.
Permissions
When sharing a dataset, you can assign permissions to the users you are sharing the dataset with. The permissions include:
Sharing with All Users
To share a dataset with all users in your organization, click on the Share with Entire Organization button.
The dataset will be shared with all users in your organization.
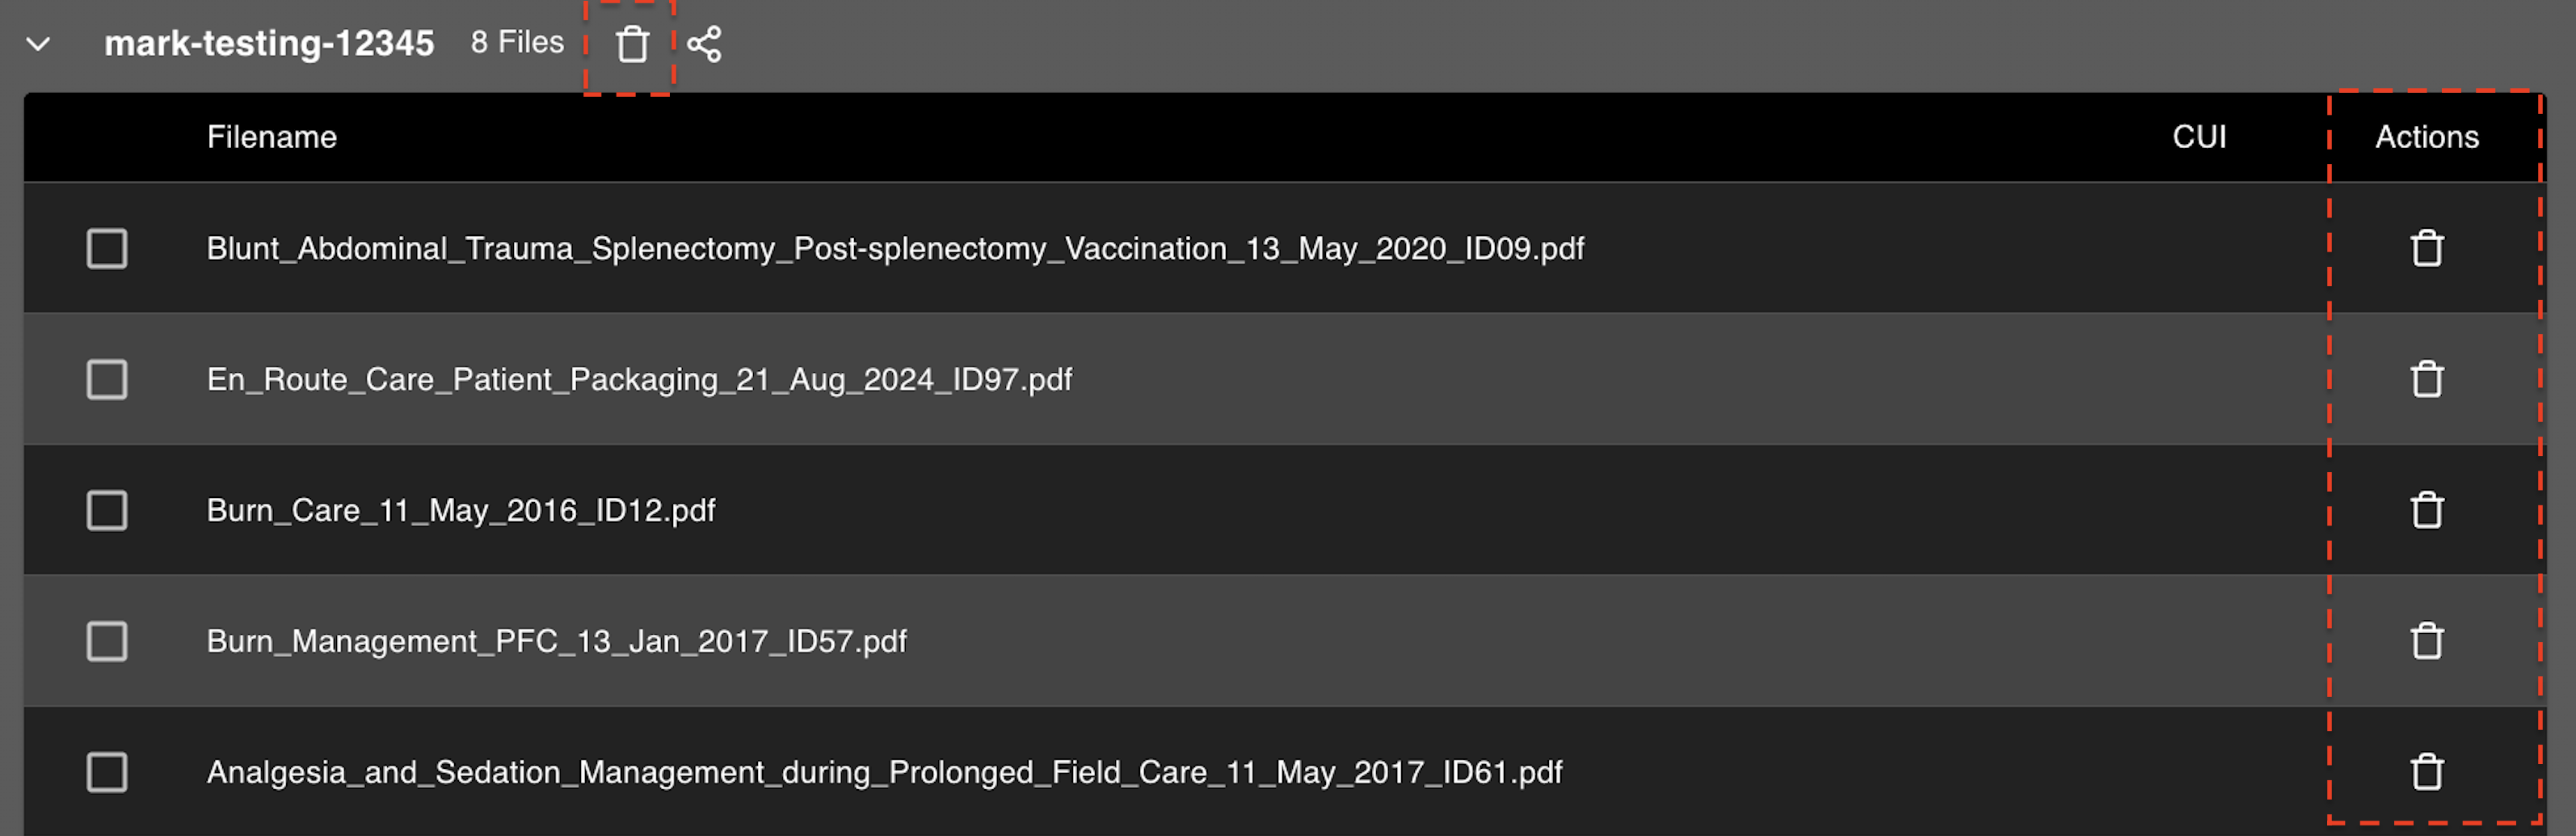
To delete a dataset or files within a dataset, click on the Delete icon next to the dataset or file name. A confirmation window will appear, asking you to confirm the deletion. Click on the Delete button to proceed with the deletion.
After confirming the deletion, the dataset or file will be permanently deleted from your Ask Sage.
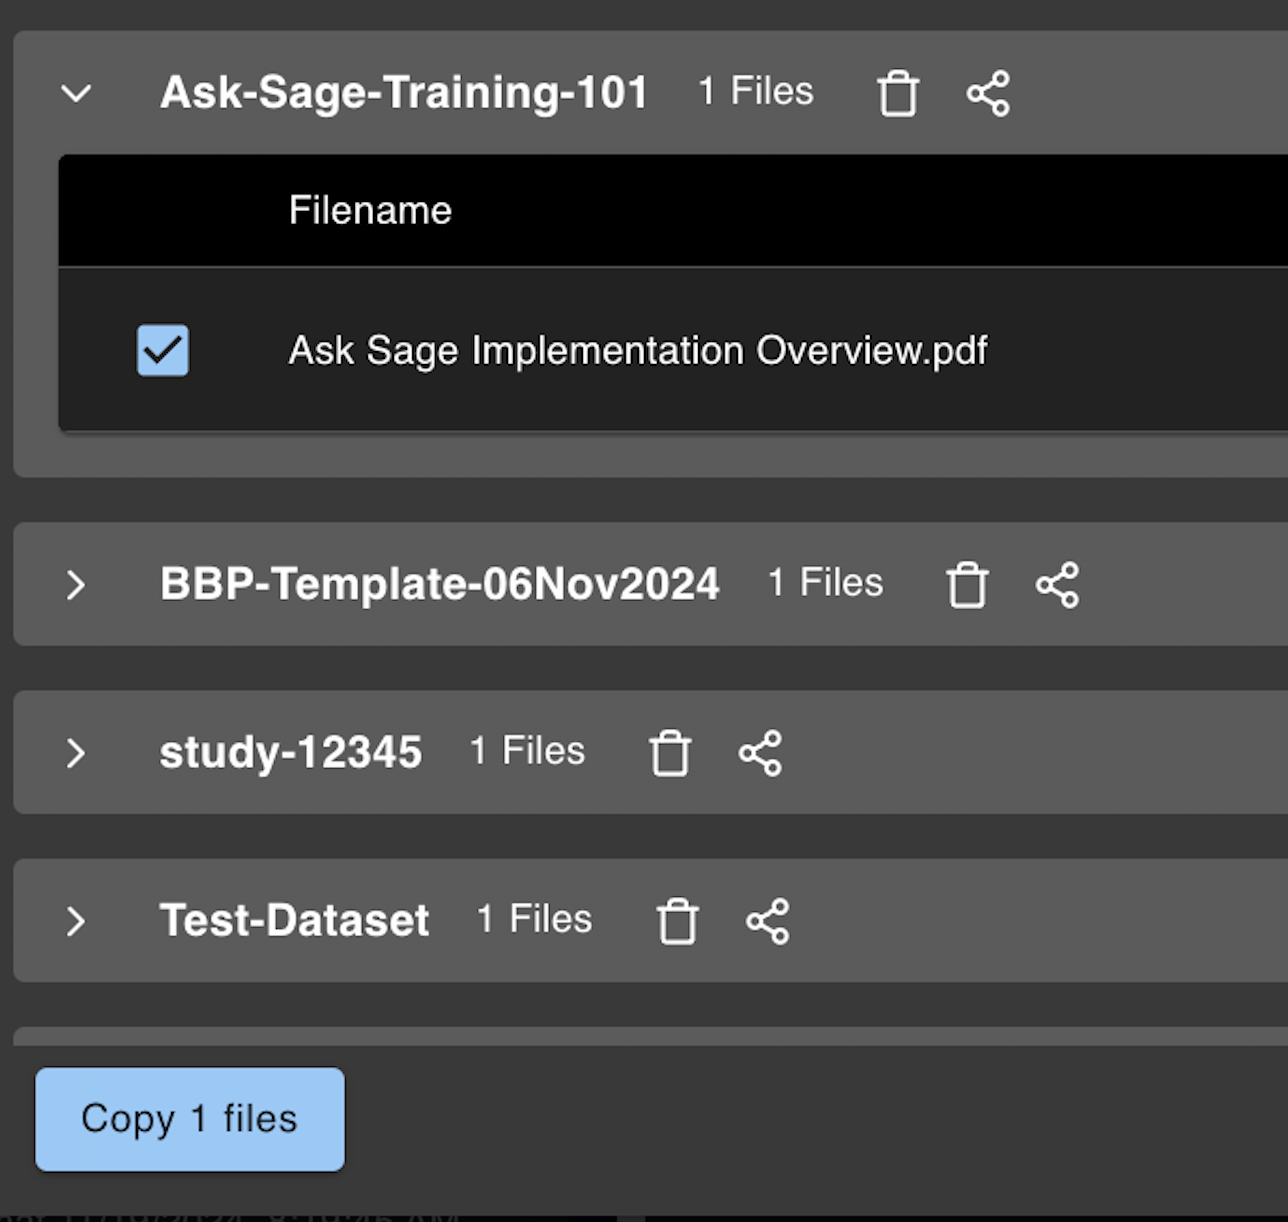
Users can copy files from one dataset to another dataset. To copy a file, select the file(s) you want to copy by clicking on the checkbox next to the file name. Then, click on the Copy icon.
A window will appear, where you can select the destination dataset to copy the file(s) to. Click on the Copy button to proceed with the copying process.
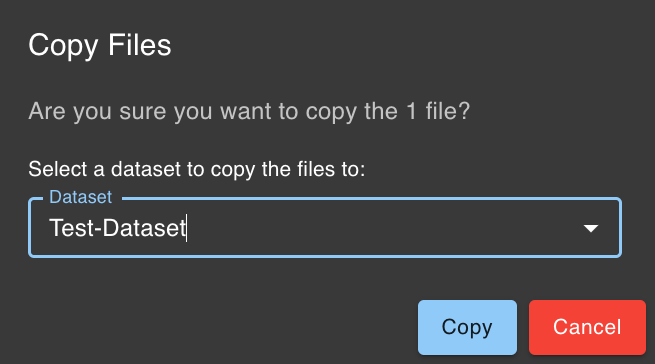
The file(s) will be copied to the selected dataset.
Dataset Commands
Ask Sage provides a comprehensive set of commands to help you effectively manage and interact with your datasets.
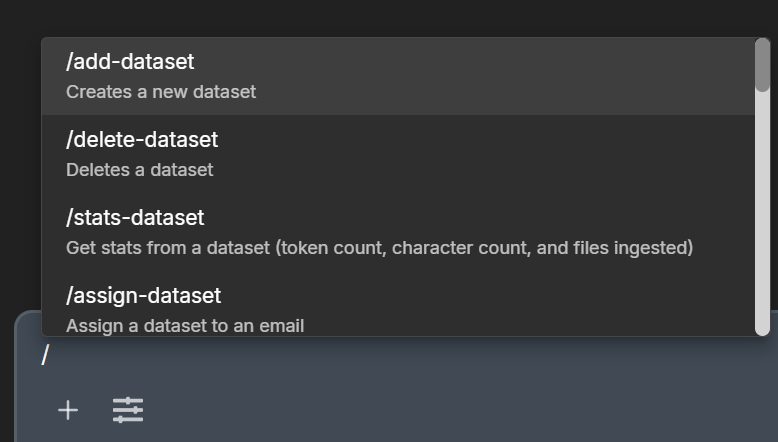
/ character in the prompt field, which will display a list of available commands. Once you select a command, ensure you enter the dataset name exactly as it appears after the command. Example: /add-dataset sample-dataset-2025 List of Dataset Commands
| Index | Command | Description of Dataset Command |
|---|---|---|
| 1 | /add-dataset | Creates a new dataset |
| 2 | /delete-dataset | Deletes a dataset |
| 3 | /stats-dataset | Get stats from a dataset (token count, character count, and files ingested) |
| 4 | /assign-dataset | Assign a dataset to an email |
| 5 | /deassign-dataset | Deassign a dataset from an email |
| 6 | /get-datasets | Lists your datasets |
| 7 | /train | Train text/plain content into dataset |
| 8 | /get | Retrieves matching content from ALL your custom datasets in vector database |
| 9 | /get-results-dataset | Retrieves all results from a specific dataset |
| 10 | /get-files-dataset | Retrieves the names of files ingested in a specific dataset |
| 11 | /delete | Deletes a training from your custom datasets in vector database |