Workbook
Interact with your data in a simple, intuitive way — powered by Ask Sage's Generative AI.
Table of Contents
What is Workbook?
Workbook is a product that allows users to interact with their data in a simple and intuitive way. It is designed to help users explore their data leveraging the power of Ask Sage's Generative AI.

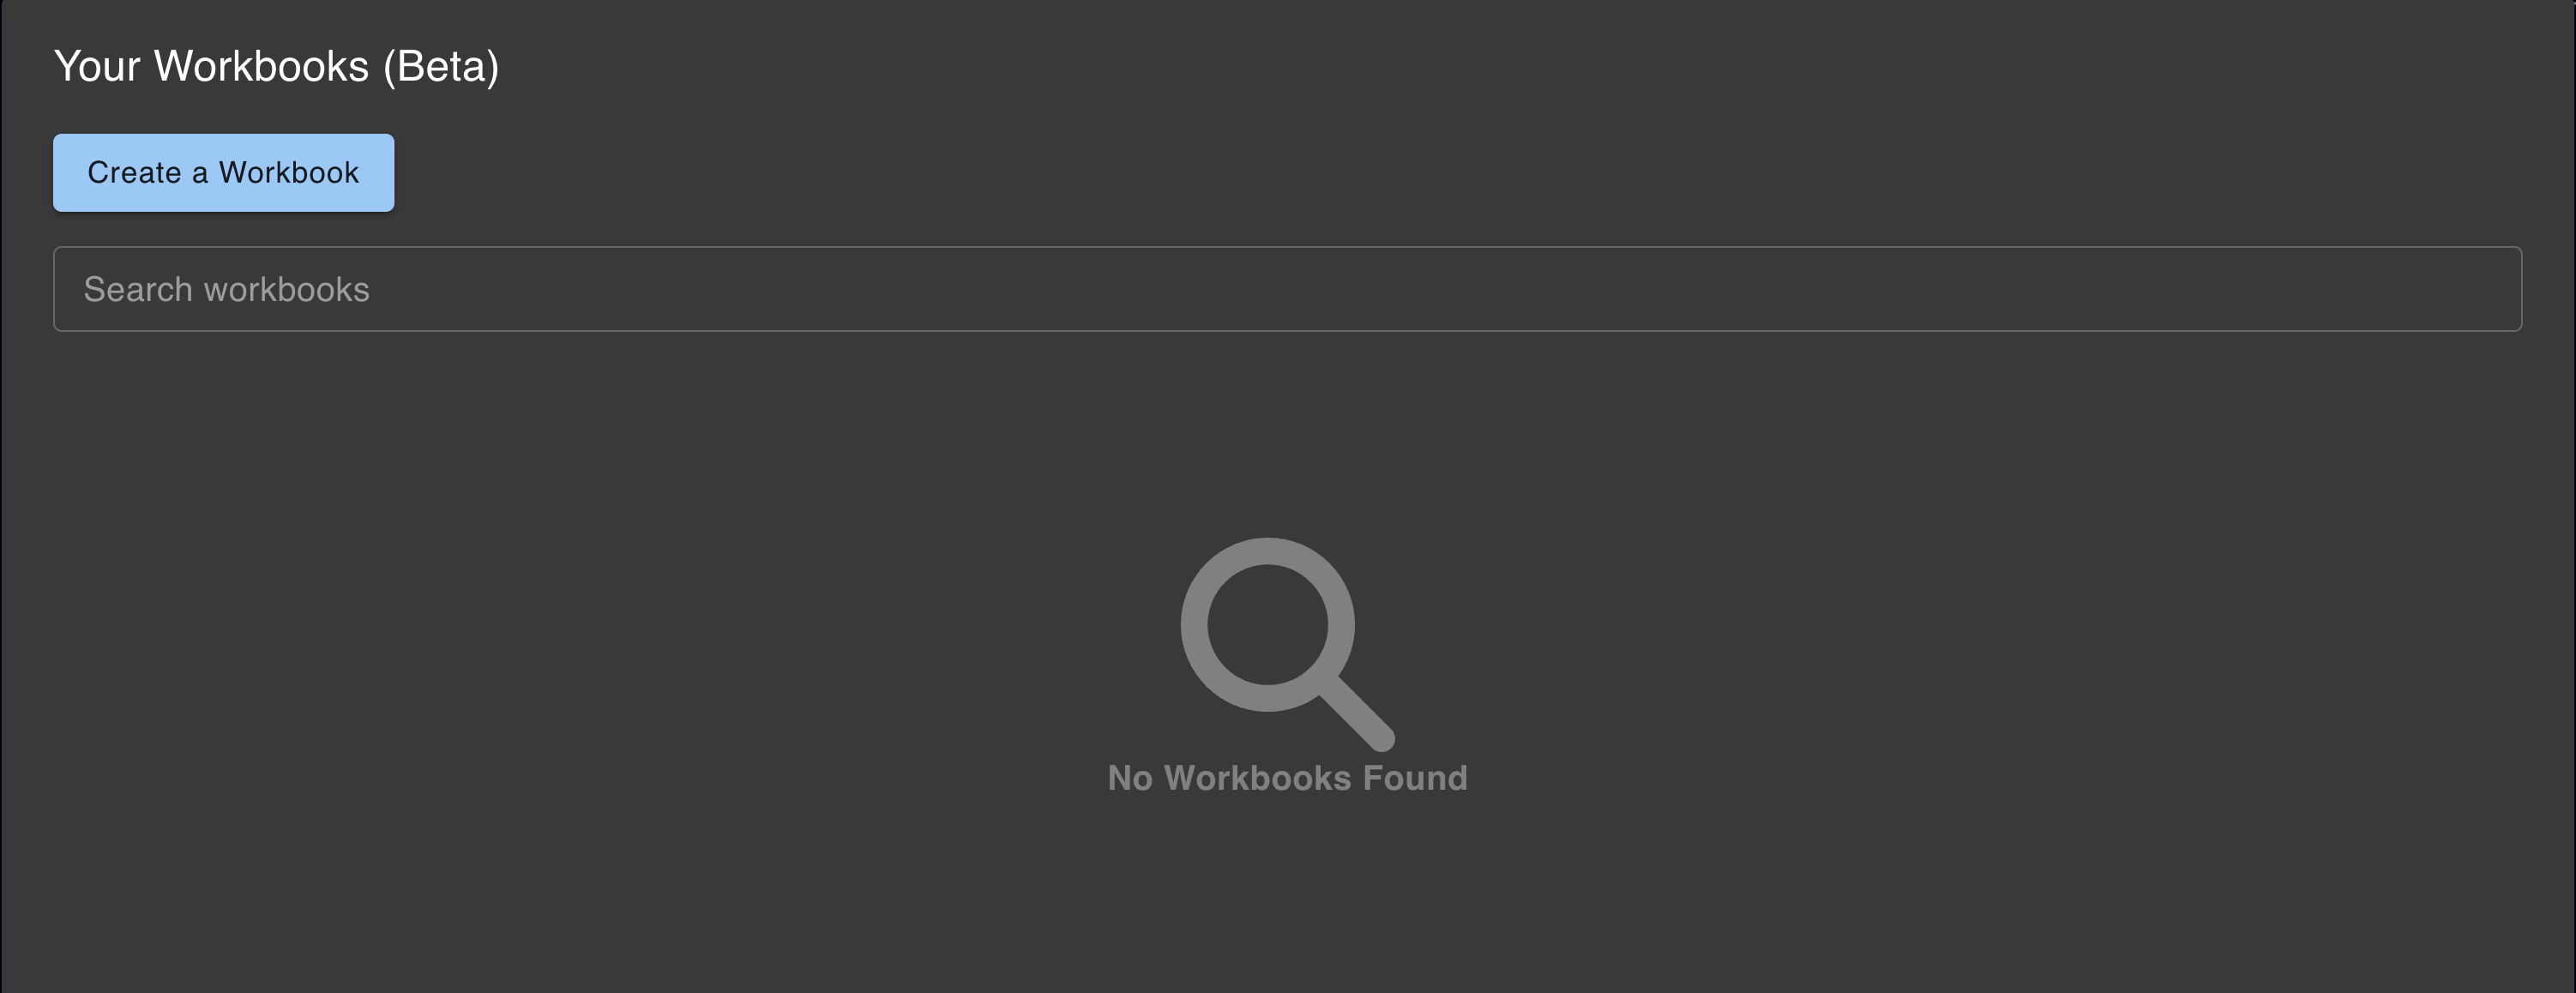
Create a Workbook
Creating a new workbook is simple! Click on the + New Workbook button located at the top right corner of your screen, or in the center if it's your first time using the workbook.
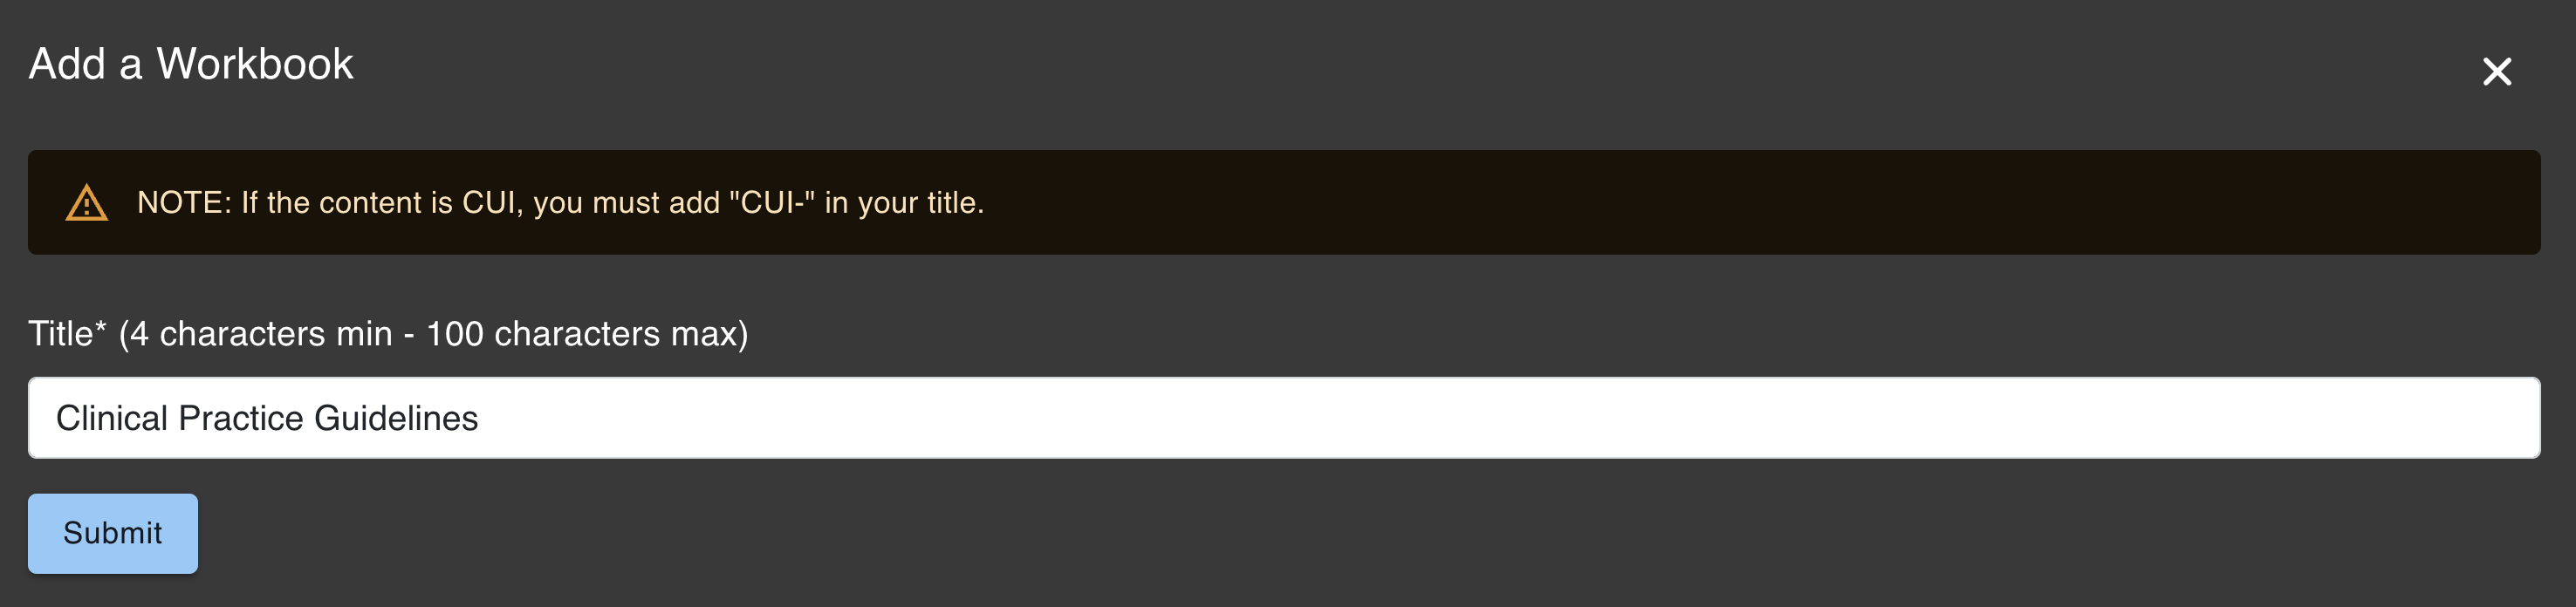
Once you click the button, you'll be prompted to name your workbook. Enter your desired name and hit the Submit button.
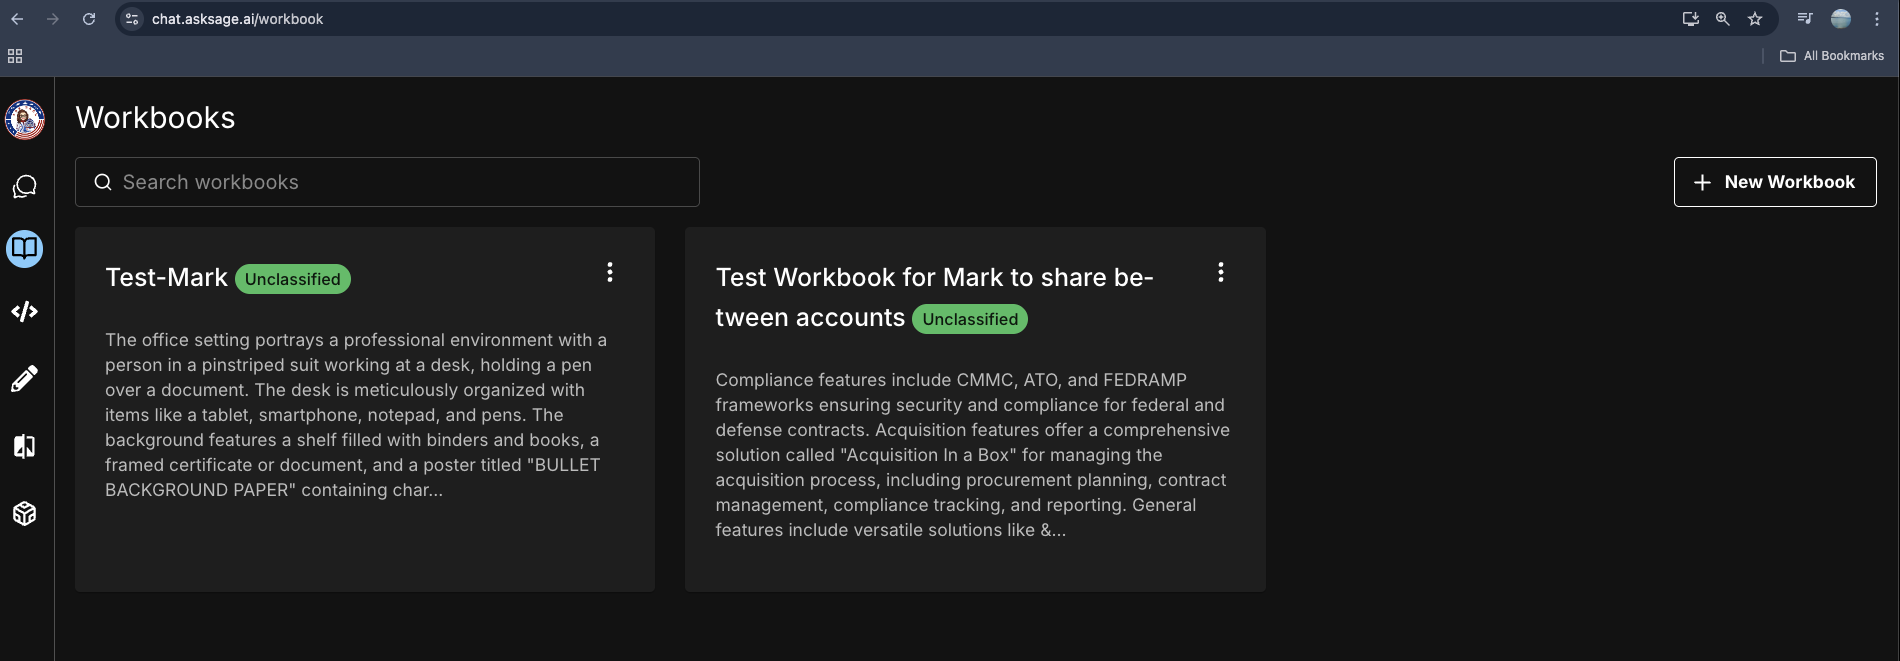
After naming your workbook, select it from the list of available workbooks. If this is your first time opening it, you'll be prompted to upload data. If you've uploaded data before, you'll be taken directly to your workbook.
Uploading Data
When you're ready to upload data, keep in mind that this process will consume Training Tokens and Inference Tokens from your account. The number of tokens used will vary based on the size of the files you upload. Inference Tokens will be used to create each file's summary. To start, we recommend uploading smaller files and gradually increasing their size as you become more familiar with Workbook.
You have a couple of convenient options for uploading data:
You can upload multiple files at once. Once you've selected your files, click the Submit button to begin the upload process.

Once your data is successfully uploaded, click the Close button to exit the ingestion modal.
Workbook Interface Overview
Now that your workbook is set up and your data is ingested, you can start interacting with your data sources!
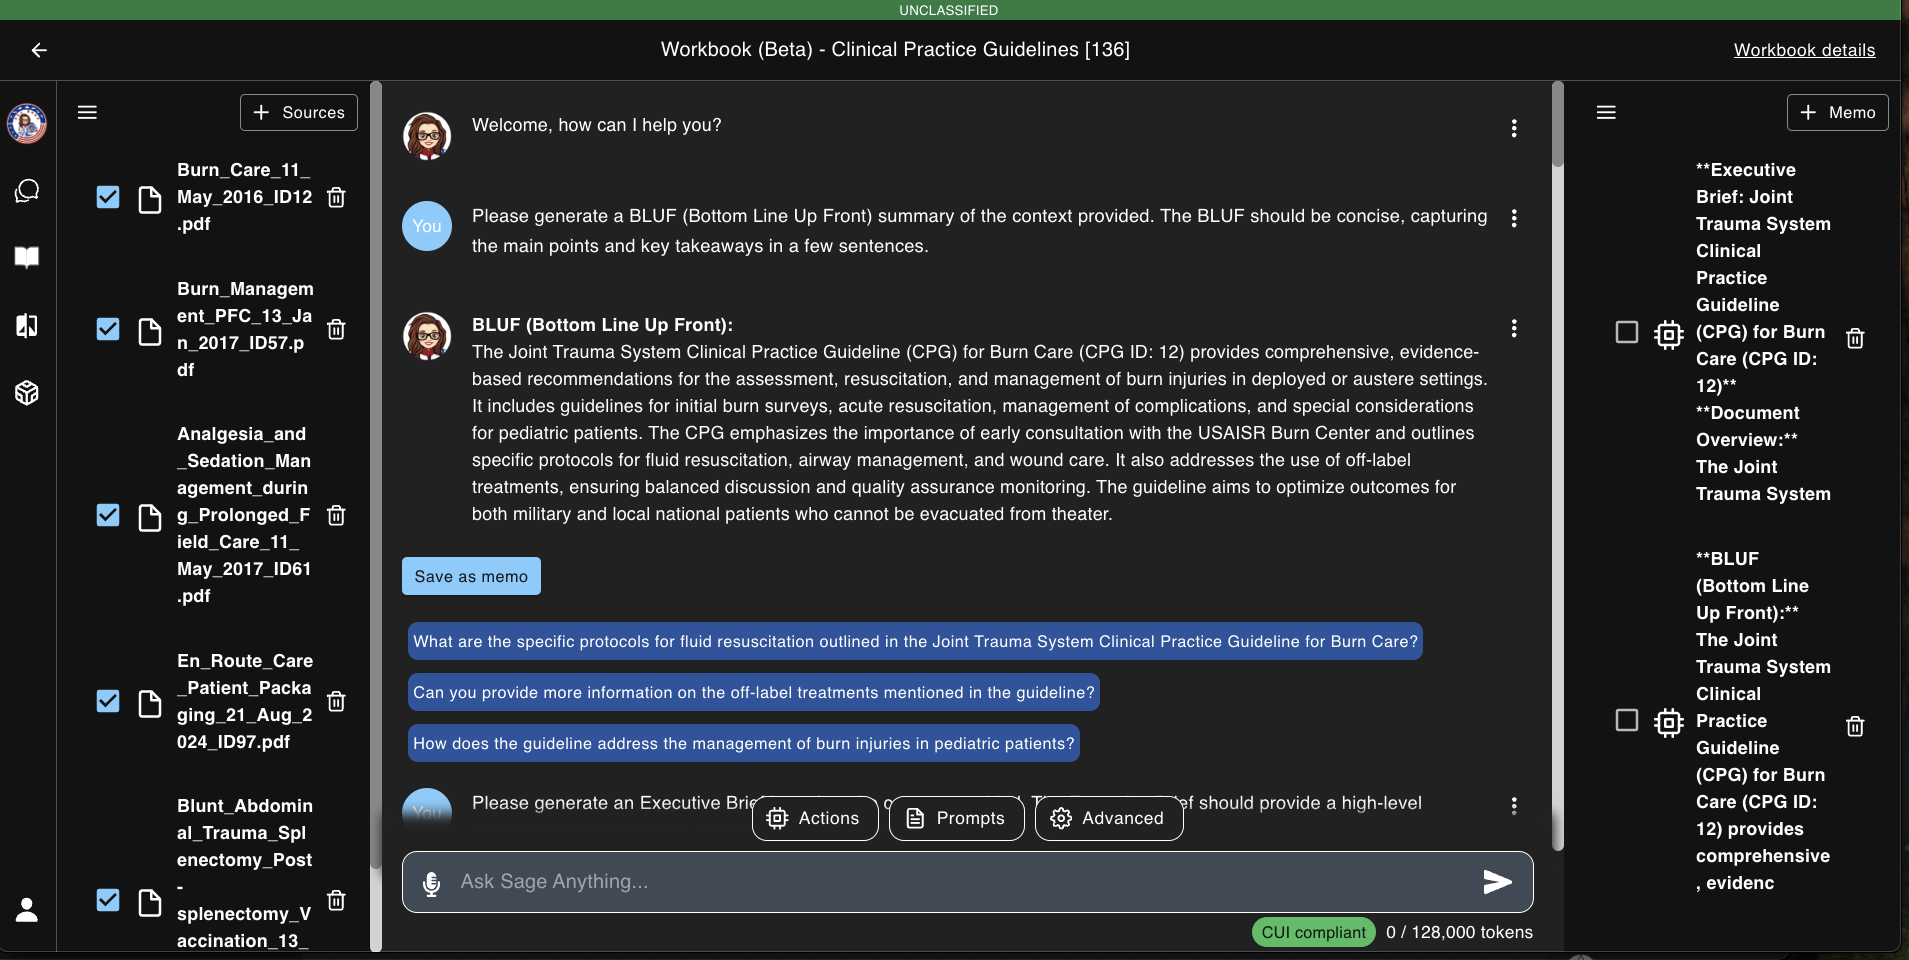
Data Sources
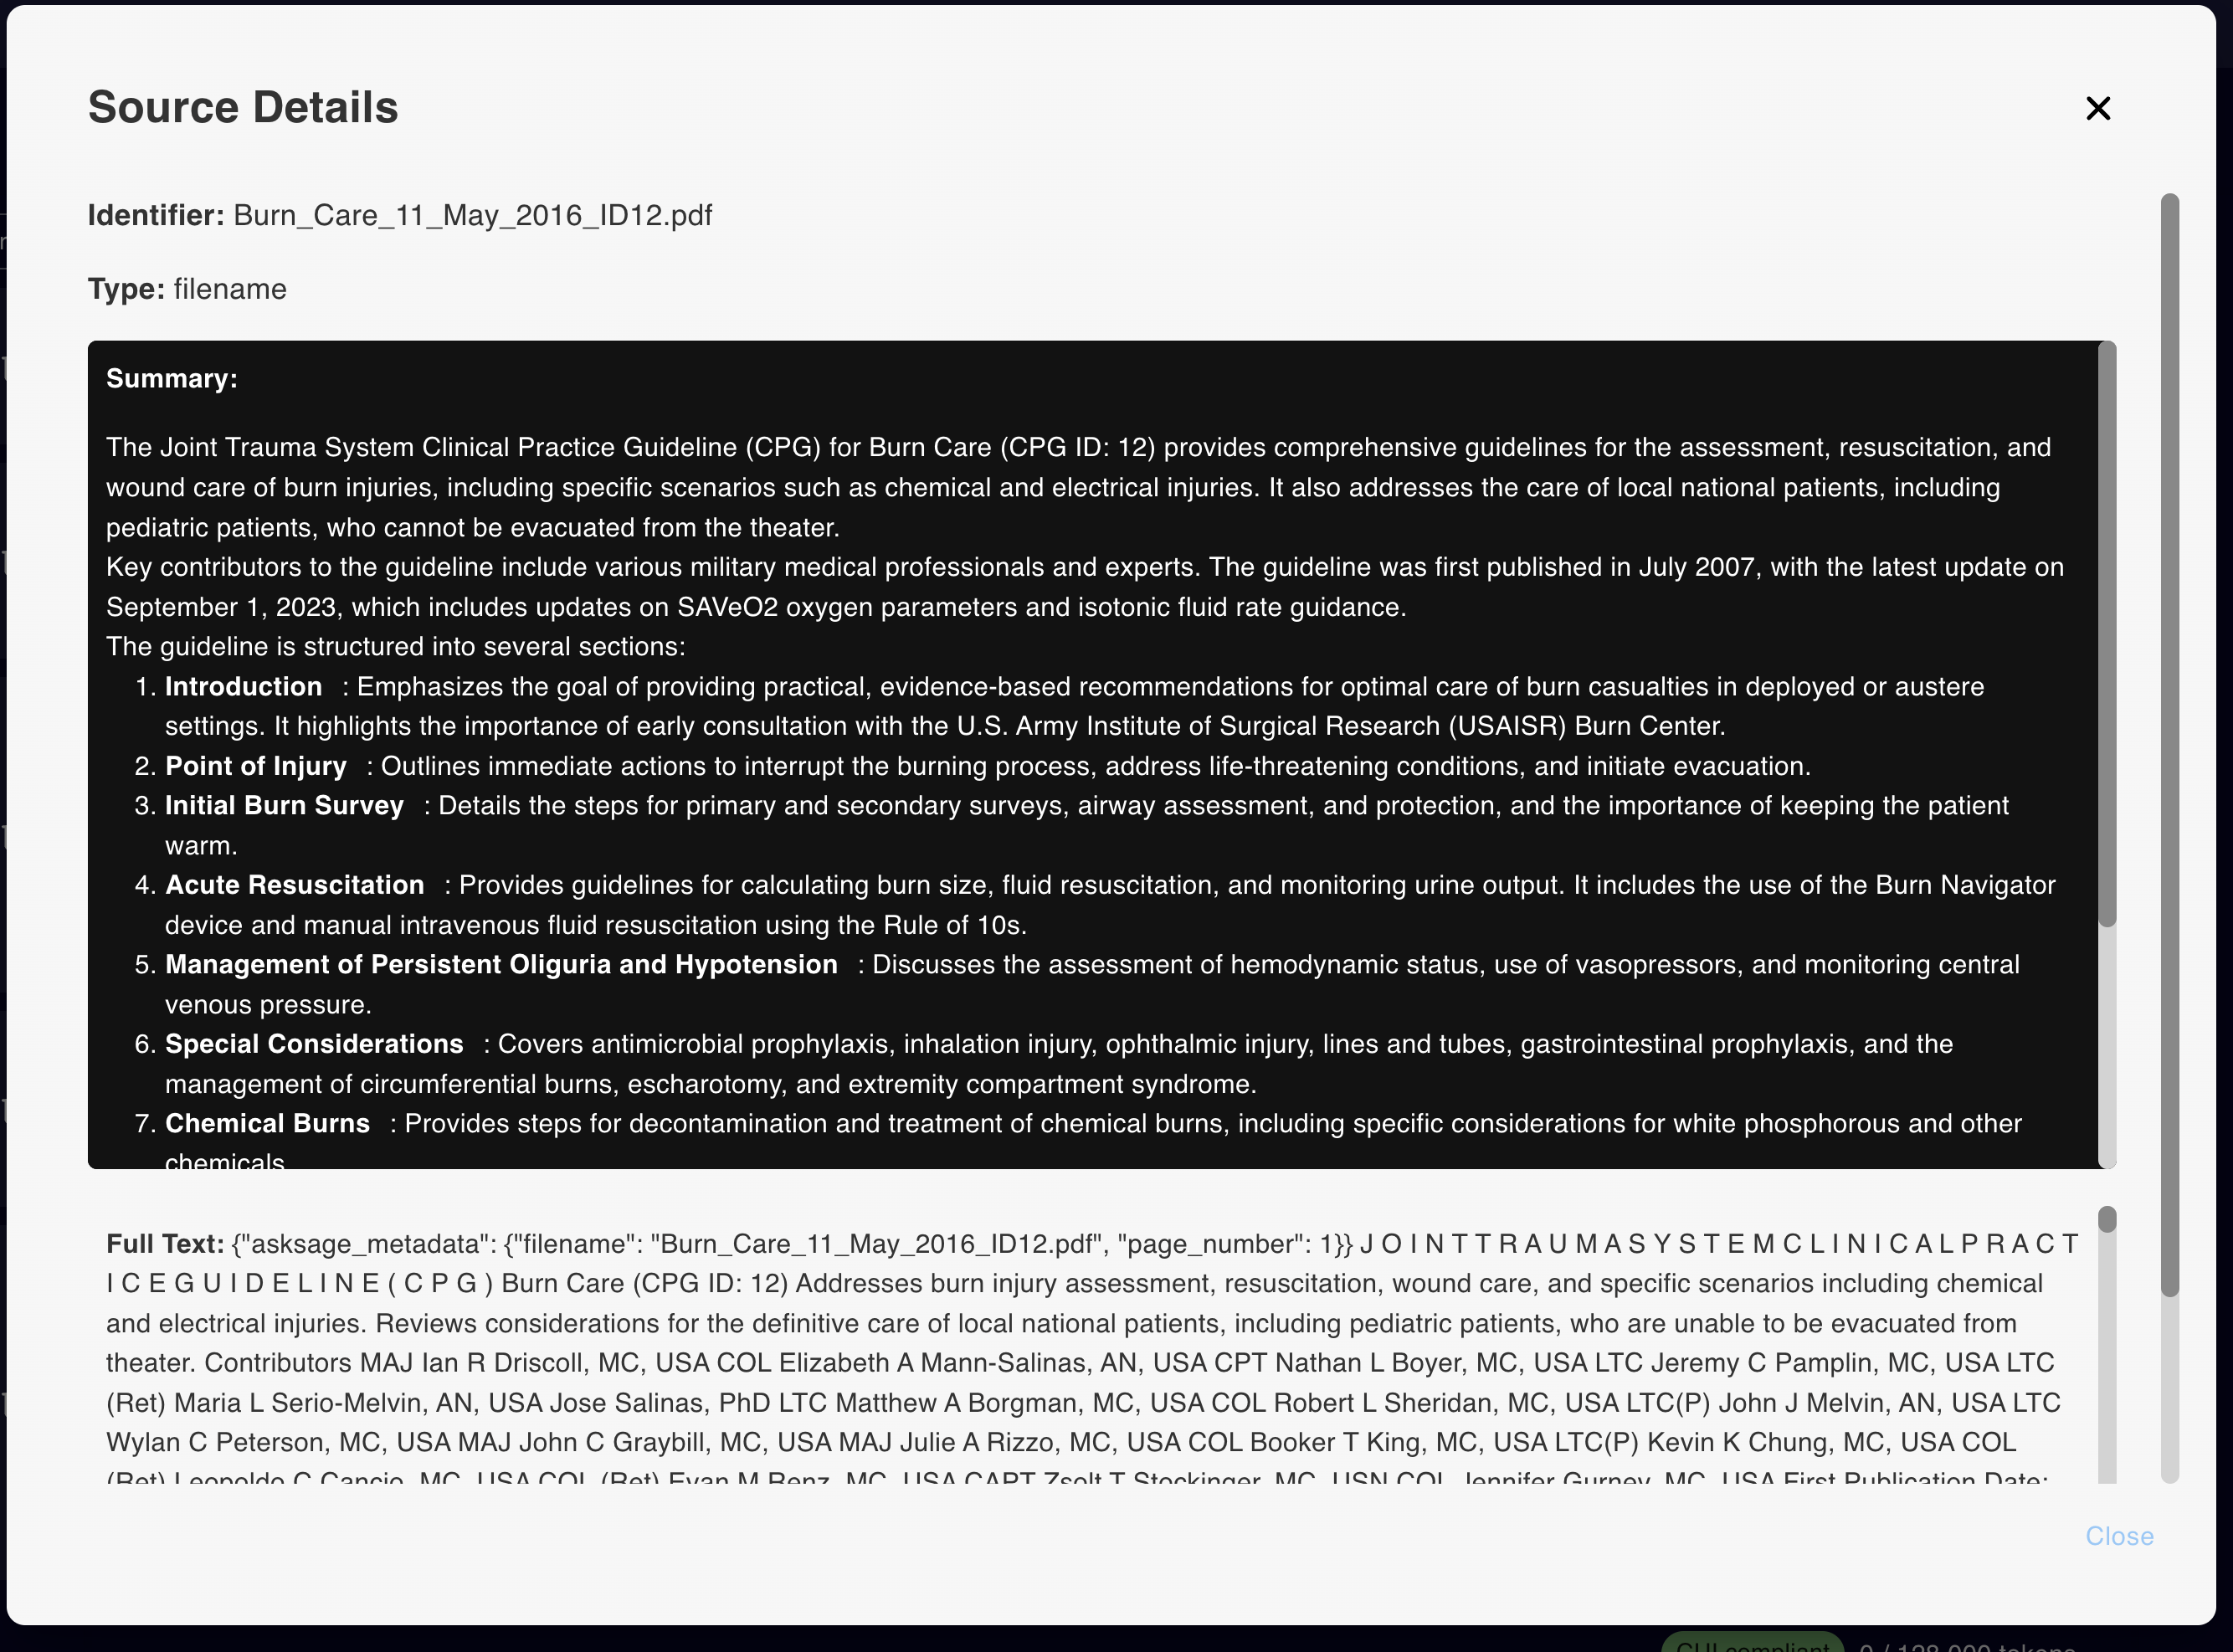
On the left side of the screen, view and manage the data sources you have uploaded. Click a source to view its content or use the checkbox to select it for actions. The trash icon deletes a source.
Data Sources
On the left side of the screen, you will see the list of data sources you have uploaded. Click on a data source to view its content and details.
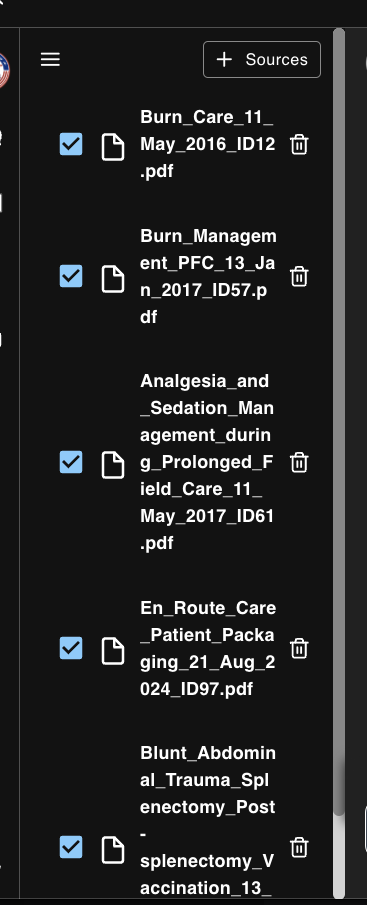
- Click a data source to open and view its content.
- Use the checkbox to select a data source and enable actions on it.
- The trash icon removes the data source from the workbook.
Prompt & Inference Window
In the prompt and inference window, you can enter a prompt and submit it to generate a response. Ask Sage makes it easy to interact with your data through the Workbook Actions and Prompt Tools menus.

Workbook Actions Menu
The Workbook Actions menu allows you to perform actions on the data sources. Actions on data sources apply to selected sources, while memo actions apply exclusively to selected memos.
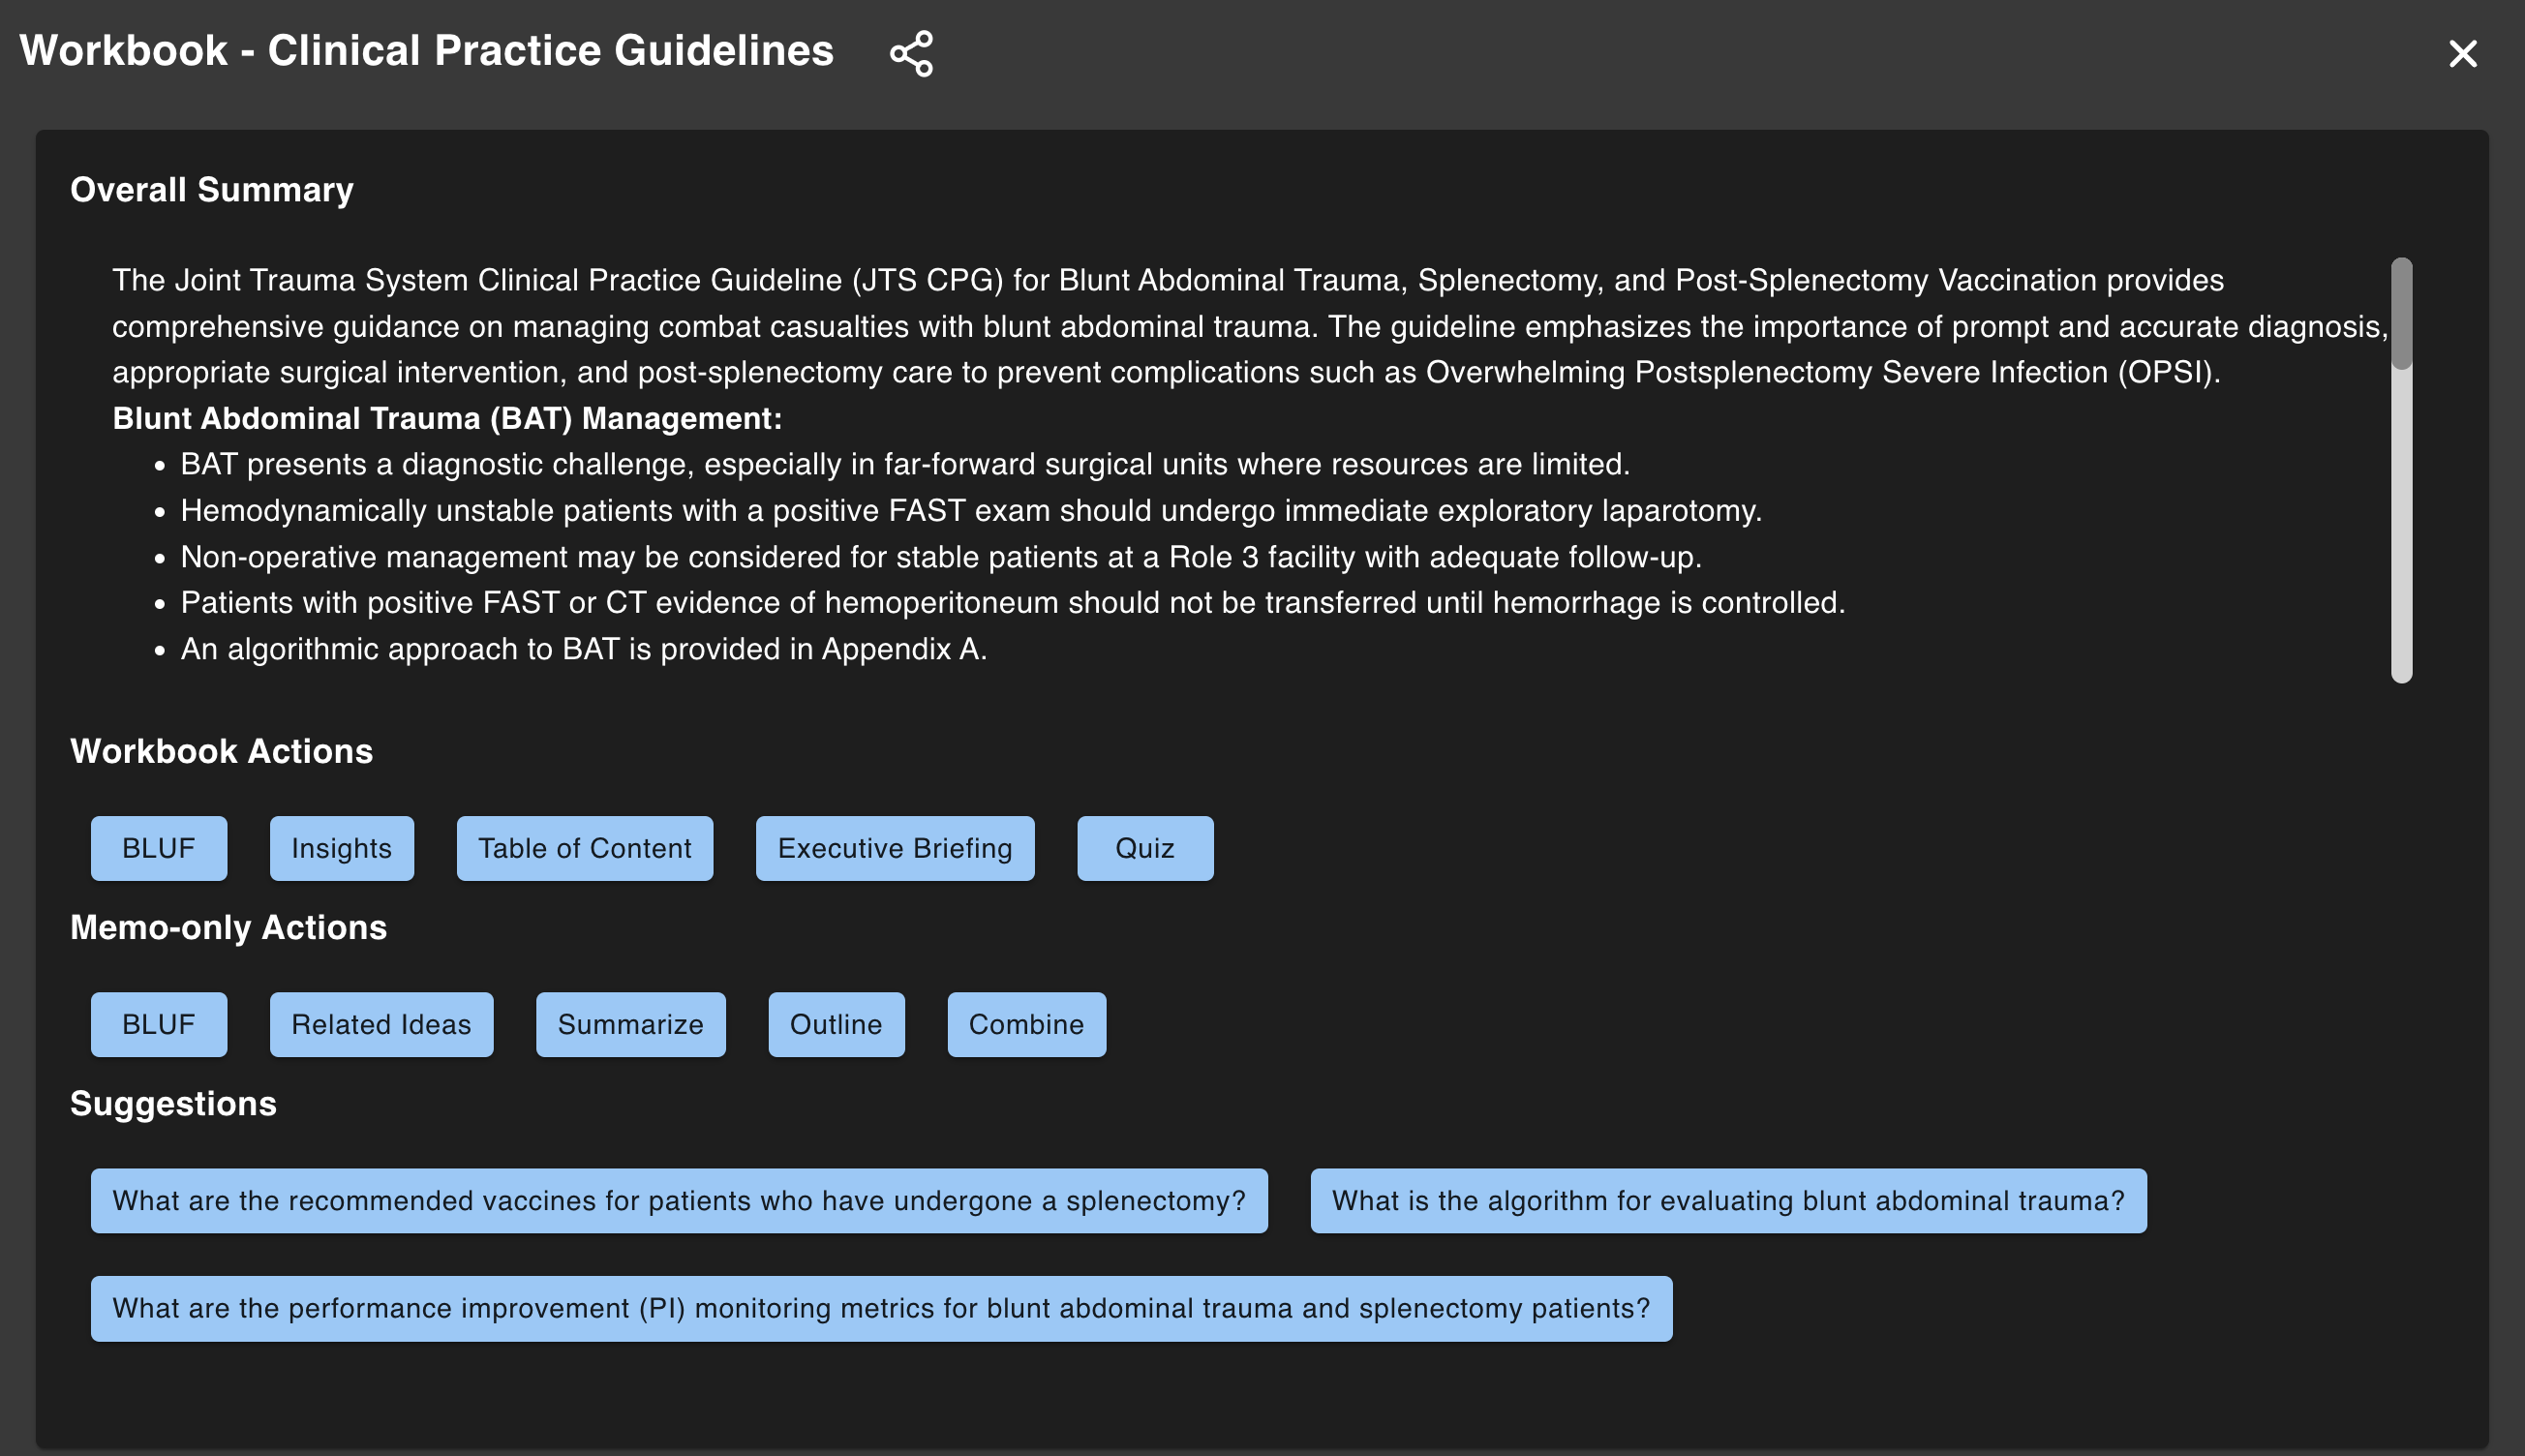
The menu also includes a Sharing Icon button to share the workbook, an overall data source summary, and Suggestions — possible prompts that could be used to generate insights.
After selecting an action, the inference will be generated and displayed in the inference window. After every Workbook Action inference, you can save the result as a memo by clicking the Save as Memo button.
Memos
The Memos section on the right side of the screen shows the list of memos you have saved from generated inferences. You can also create a new memo manually by clicking the Create a Memo button.
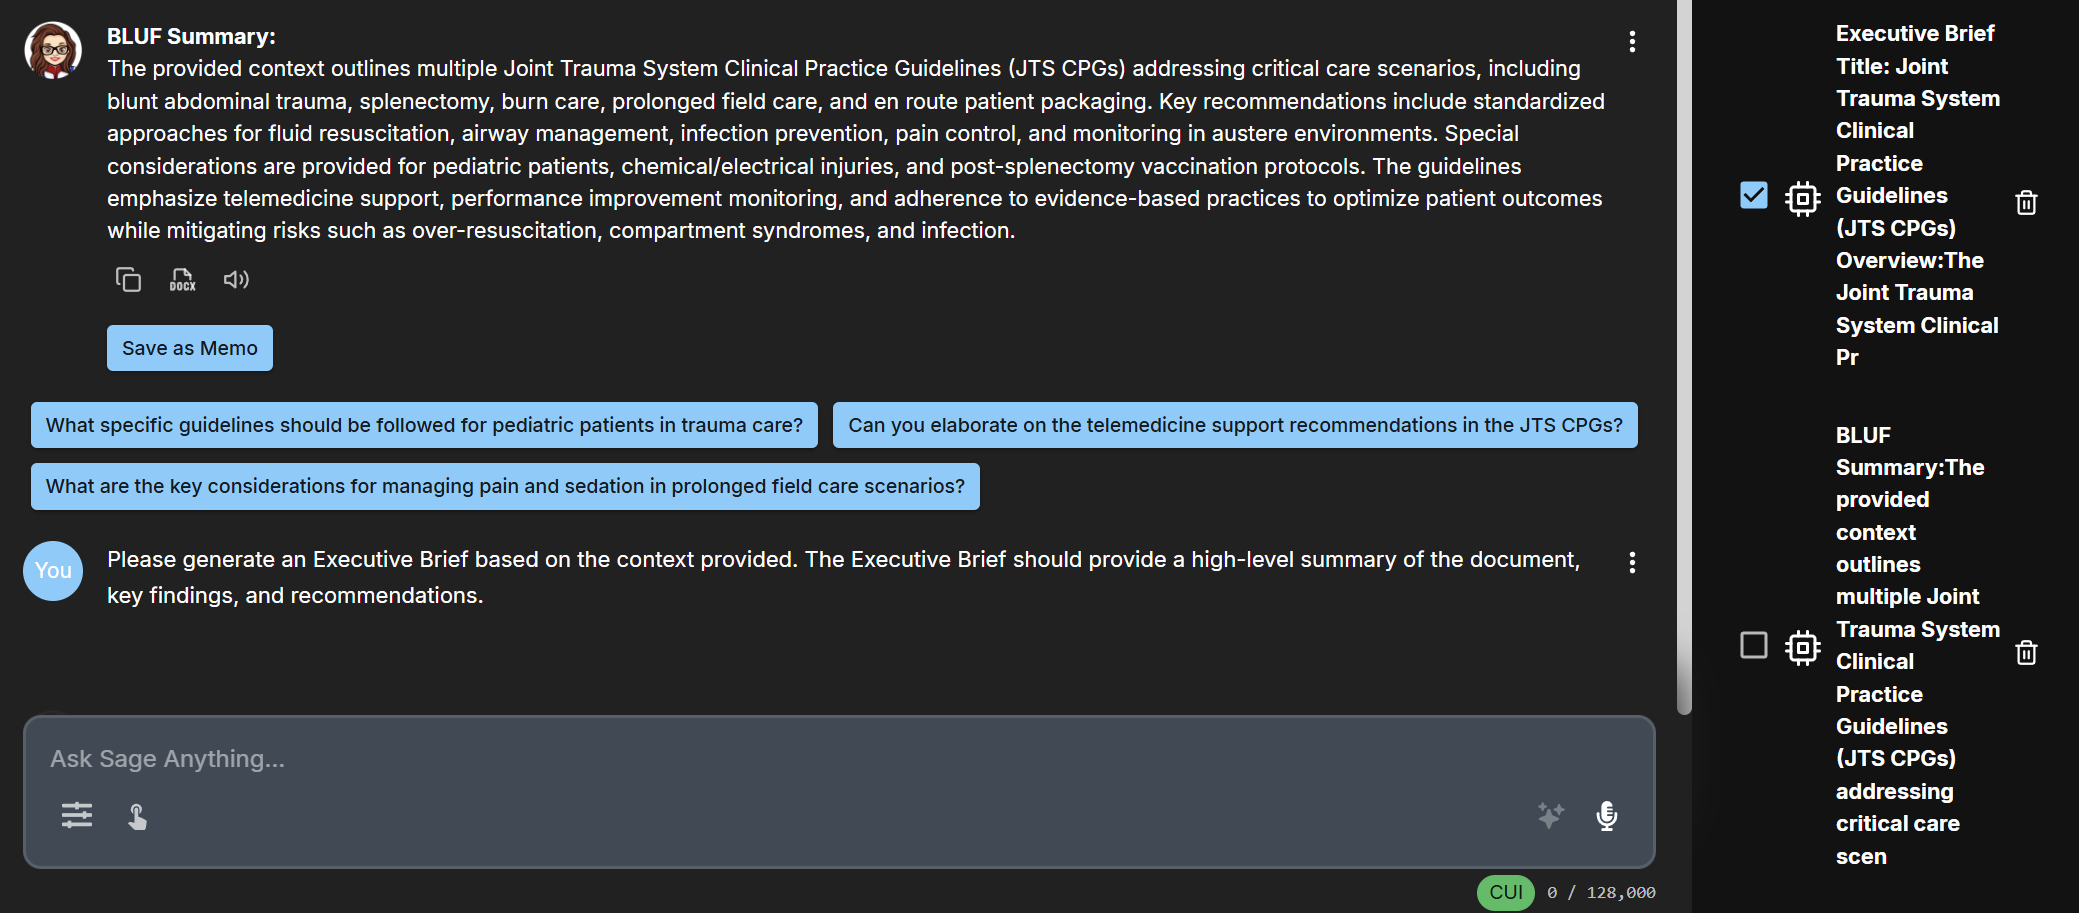
Click on any memo to view its content and perform actions on it.

Share Workbook
To share the workbook, click on the Share icon which appears when selecting the Workbook Actions menu.
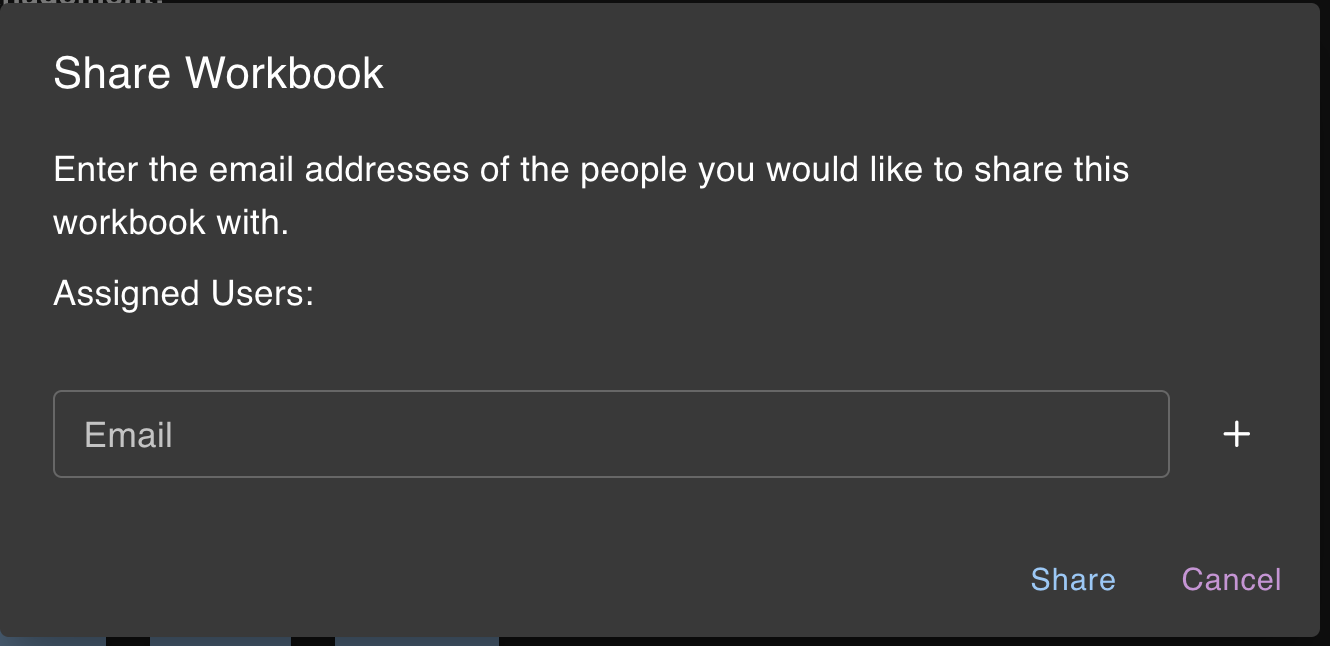
Enter the email address of the person you want to share the workbook with and click the Share button. The person will then have access to the workbook.
Workbook, you can upload, analyze, and share insights from your data — all powered by Ask Sage's Generative AI.