Data & Settings, Deep Agent, & MCP
Unlock advanced AI capabilities with datasets, intelligent agents, and powerful integrations
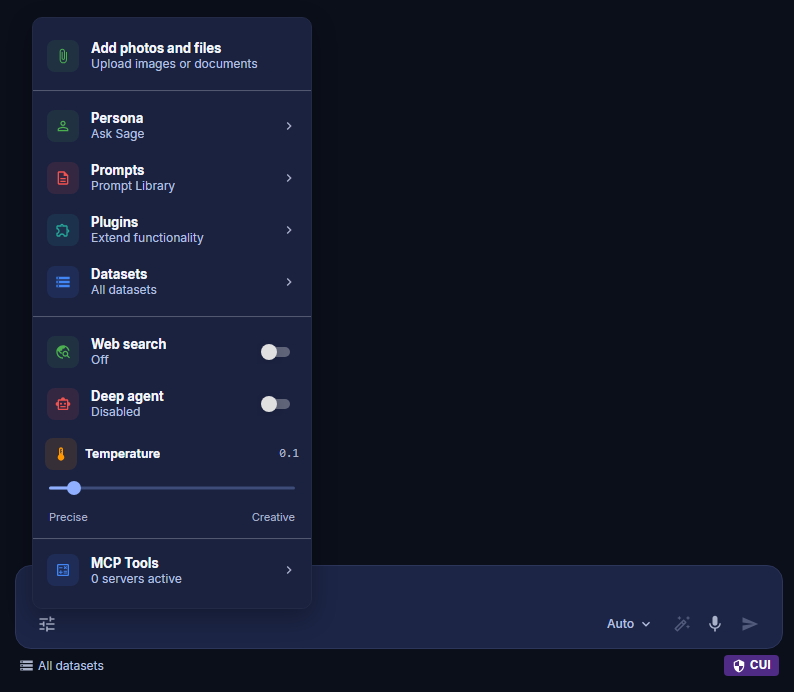
Table of Contents
Data & Settings
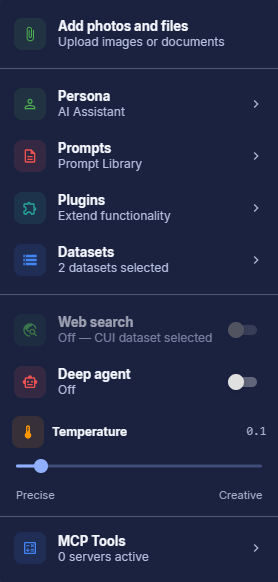
All data and configuration options are accessible from the Tools menu. Click the sliders icon at the left of the prompt box to open it; the menu consolidates the following controls in one place:
- Add photos and files — Upload images or documents inline with your prompt
- Persona — Quick-switch the active persona (displays the currently selected persona)
- Prompts — Opens the Prompt Library
- Datasets — Select datasets to ground your prompt with your own data
- Web search — Toggle real-time web search on or off
- Deep agent — Enable advanced multi-step research across the web and your datasets
- Temperature — Adjust response creativity from Precise to Creative
- MCP Tools — View and manage active Model Context Protocol servers
Ask Sage Datasets
To choose which datasets a prompt uses, click the dataset label under the prompt window (it reads No datasets until you select one). The quick-select panel opens, where you can toggle individual datasets on or off using checkboxes, search or sort the list, or use All and None to change your selection in bulk. Each dataset shows its classification badge (Unclassified or CUI).
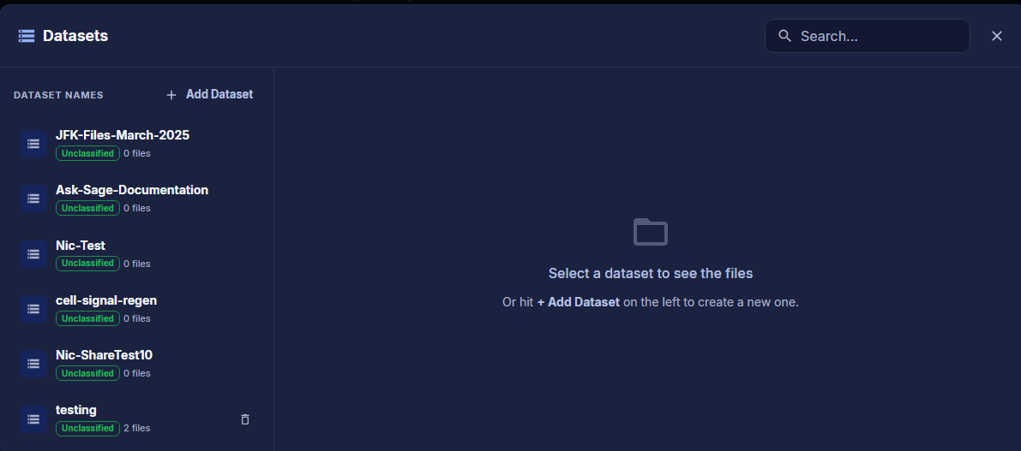
The label under the prompt window updates to show how many datasets are selected:

The dataset feature allows users to generate text from a specific dataset. This is important since GenAI models are trained on data that is locked in time and may not have the most up-to-date information. By selecting a dataset, you can ensure that the model generates text based on the most current information you want to reference.
How Does it Work?
The dataset feature in Ask Sage Chat enables users to select one or multiple datasets. This process utilizes Retrieval-Augmented Generation (RAG) to extract the most relevant information from the chosen dataset(s) and generate responses based on that data.
What is RAG?
RAG enhances the GenAI process by retrieving pertinent external context and integrating it into the original prompt. This involves two key steps:
Unclassified or CUI. Other tenants may offer additional classification options. Note: To utilize the
CUI label, users must possess a CAC/PIV card or request activation for CUI classification if you do not have a CAC/PIV Card. To request this feature, please email support@asksage.ai. (Access is not granted automatically and follow on instructions will be provided to you via email.) none option. Uploading Files to a Dataset
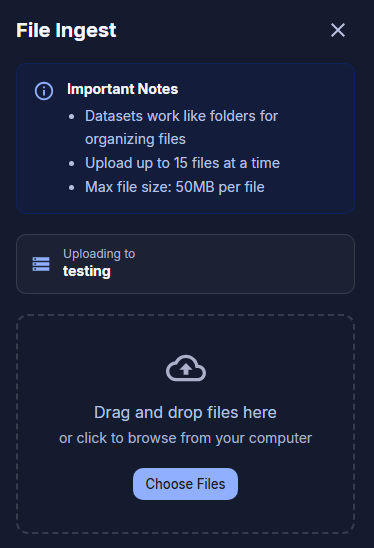
To add files to an existing dataset, open the Datasets panel, select the dataset, and click + Add Files. The File Ingest panel will open on the right with a drag-and-drop area or a Choose Files button.
- Upload up to 15 files at a time
- Maximum file size: 20MB per file
- Processing time depends on the amount of content (pages, spreadsheet cells, embedded text), not file size
Web Search
The Web Search feature is accessible from the Tools menu as a simple toggle. By default, web search is set to Off. When enabled, it activates real-time web search and return up-to-date information in the inferences generated by the model.
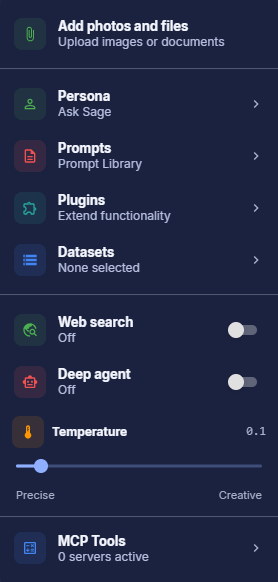
Web Search feature is not CUI/Sensitive data compliant as it is using a Search Engine to pull information from the web, and we can not control what information is being collected by the search engine. To protect CUI, web search is turned off and can't be enabled while a CUI dataset is selected. The toggle shows Off — CUI dataset selected until you clear the CUI dataset.
Temperature
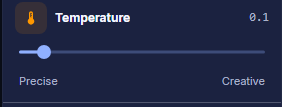
The temperature slider is accessible from the Tools menu. Drag the slider left toward Precise for more deterministic, consistent outputs, or right toward Creative for more varied and imaginative responses. By default, the temperature is set to 0.0.
A lower temperature produces structured, reliable answers suited for factual or analytical tasks. A higher temperature allows the model to explore a wider range of responses, which can be valuable for brainstorming or creative writing — though outputs may be less structured as a result.
0.0 for most use cases, as this will provide the most accurate and relevant results. However, if you are looking for more creative or varied responses, you can increase the temperature to 0.5 or 1.0. Deep Agent
Deep Agent is an AI agent capable of conducting searches across both the web and your secure datasets, including Retrieval-Augmented Generation (RAG) sources. Enable it from the chat toolbar using the Deep agent toggle.

How Deep Agent Works
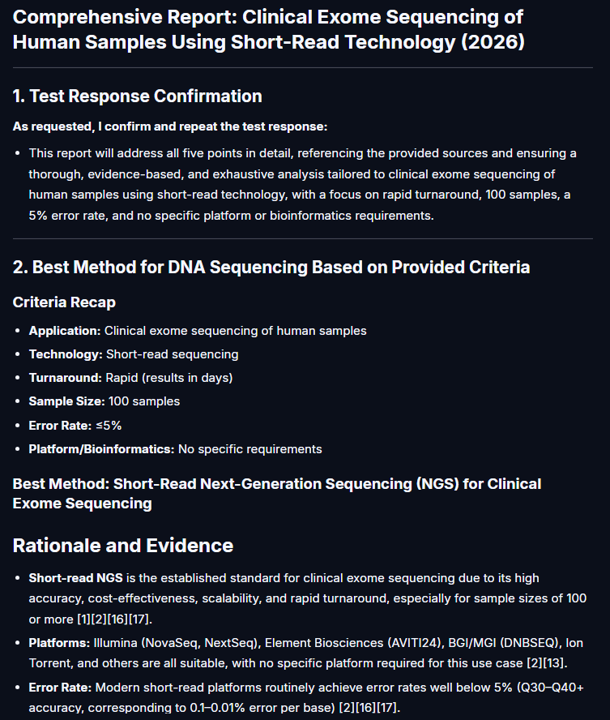
Deep Agent leverages advanced AI agents to iteratively perform complex research tasks. It automatically generates queries and prompts, seamlessly exploring the web, your private datasets, or both. This capability enables users to uncover deeper insights and achieve higher productivity.
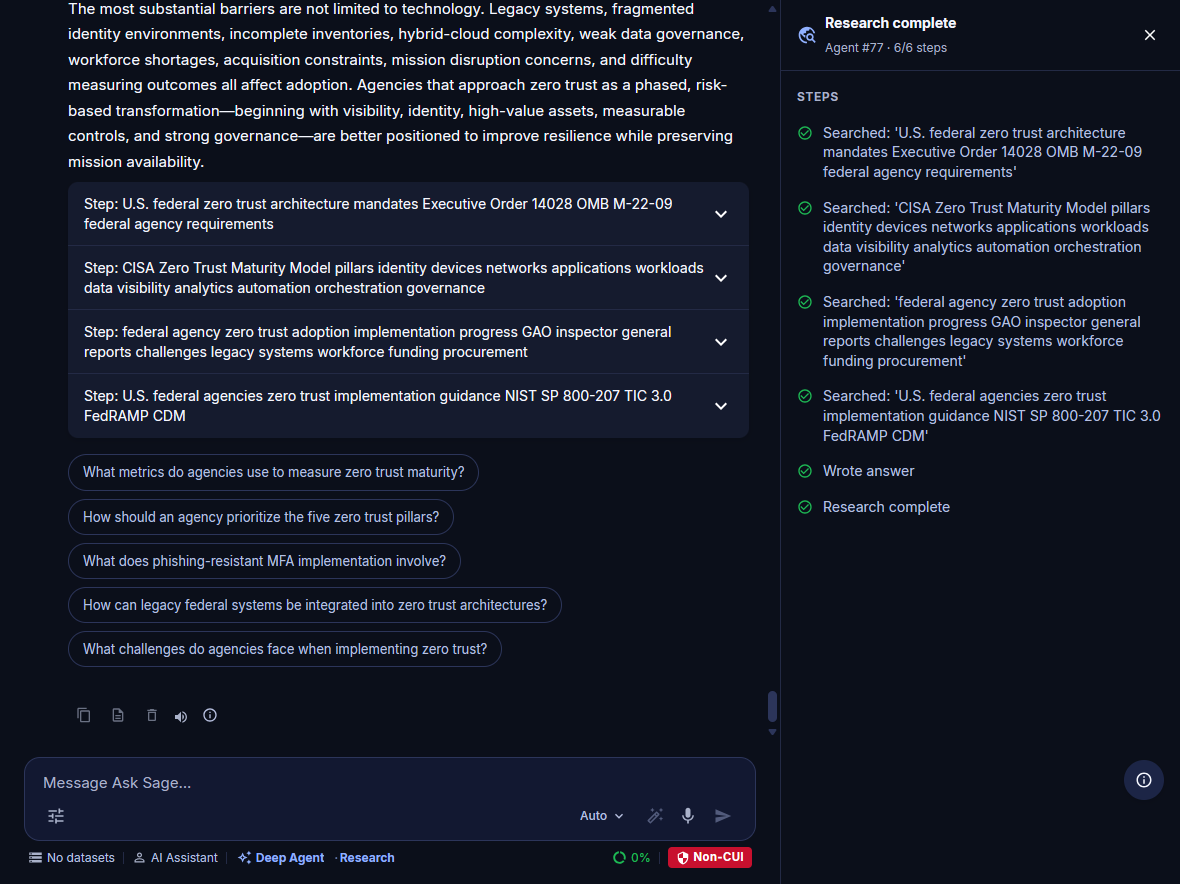
While it works, a Researching… panel opens on the right and lists each step as it runs, such as each search and writing the answer. When it finishes, the panel and the top of the response show Research complete with the number of steps.
At the end of the report, expand any Step to see what was searched and found. Click a suggested follow-up question to keep researching.
Token Usage Guidelines
Each Deep Agent query initiates multiple prompts, which can consume a significant number of tokens. To optimize your experience, select your models carefully. By default, Deep Agent uses the GPT 4.1 model, which balances cost-effectiveness and performance.
Model Context Protocol (MCP)
The Model Context Protocol (MCP) is a powerful framework designed to enable seamless interaction between users and AI models. MCP provides a structured way to define, manage, and execute actions or tools within a given context. By leveraging MCP, users can extend the capabilities of AI models to perform specific tasks, automate workflows, and integrate external systems or APIs.
MCP Tools are accessible directly from the Tools menu. The menu entry shows the number of currently active MCP servers (e.g., 0 servers active). Click it to view, configure, or connect MCP servers for your session.